To be a better coder
分类: LINUX
2018-04-18 13:21:11
一 环境:
主机:windows 7 64bit
运行平台:imx6ul
交叉编译工具:arm-poky-Linux-gnueabi-gcc -march=armv7-a -mfloat-abi=hard
-mfpu=neon -mtune=cortex-a7
–sysroot=/opt/poky/1.8/sysroots/cortexa7hf-vfp-neon-poky-linux-gnueabi
二 交叉编译
1.编译libusb-1.0.21.tar.gz
1.1下载源码
1.2编译
1.2.1 生成配置文件, 执行(如果有configure文件,就不需要执行这步)
autogen.sh
1.2.2 配置(注:创建一个安装目录, 失能udev)
./configure --host=arm-poky-linux-gnueabi --target=arm-poky-linux-gnueabi --prefix=/home/vec/usb/11/libusb-1.0.21/dir --disable-udev
1.2.3 编译
make
1.2.4 安装
make install
1.2.5将编译得到的文件(/home/vec/usb/11/libusb-1.0.21/dir下)的文件分别放入交叉编译工具对应目录下.
sudo cp -rf lib/* /opt/poky/1.8/sysroots/cortexa7hf-vfp-neon-poky-linux-gnueabi/usr/lib/ sudo cp -rf include/* /opt/poky/1.8/sysroots/cortexa7hf-vfp-neon-poky-linux-gnueabi/usr/include/ sudo cp -rf bin/* /opt/poky/1.8/sysroots/cortexa7hf-vfp-neon-poky-linux-gnueabi/usr/bin/
2.编译libusb-compat-0.1-0.1.6-rc2.tar.gz
2.1下载源码
其余步骤如上。
3.编译usbutils-0.80.tar.gz
3.1下载源码
其余步骤如上。
三 移到arm板中运行
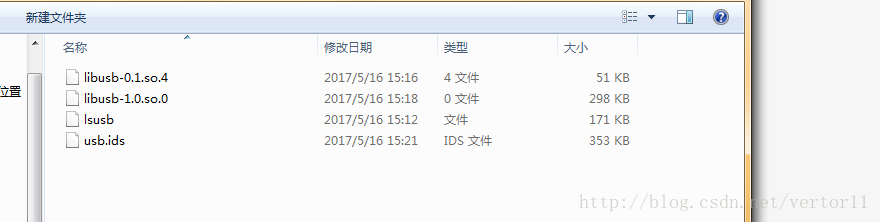
将libusb-0.1.so.4和libusb-1.0.so.0放入arm板中的/usr/lib/中
将lsusb放入/usr/sbin中
将usb.ids放入/home/vec/usb/usbutils-0.80/dir/share中
注:libusb-0.1.so.4在libusb-compat-0.1-0.1.6-rc2\dir\lib中
libusb-1.0.so.0在libusb-1.0.21\dir\lib中
lsusb,usb.ids在usbutils-0.80\dir\sbin和usbutils-0.80\dir\share中
