思杰VDI一DDC配置前面基本上做好铺垫了,本文介绍DDC服务器配置
本篇为分AD配置,控制台配置和授权配置
1.AD配置
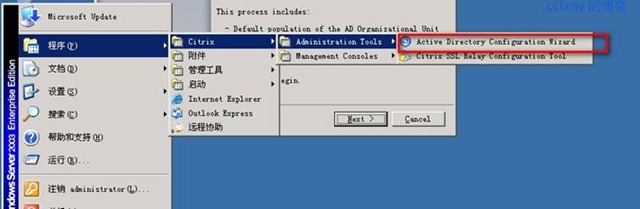
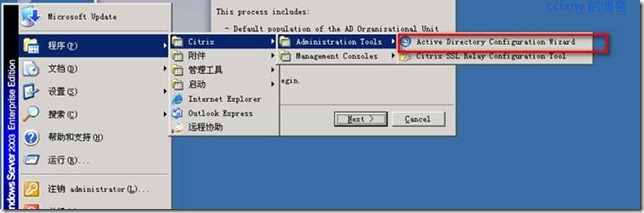
安装完成DDC后如图所示有这些选项卡,AD配置和ssl配置以及管理工具,单击AD配置
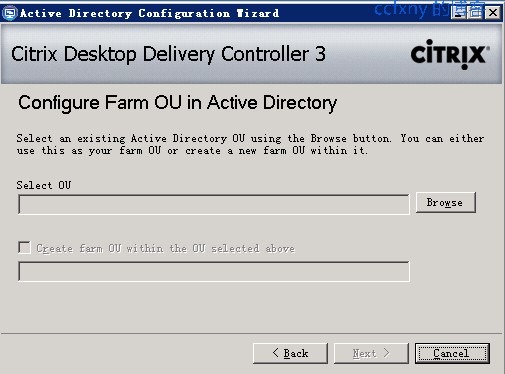
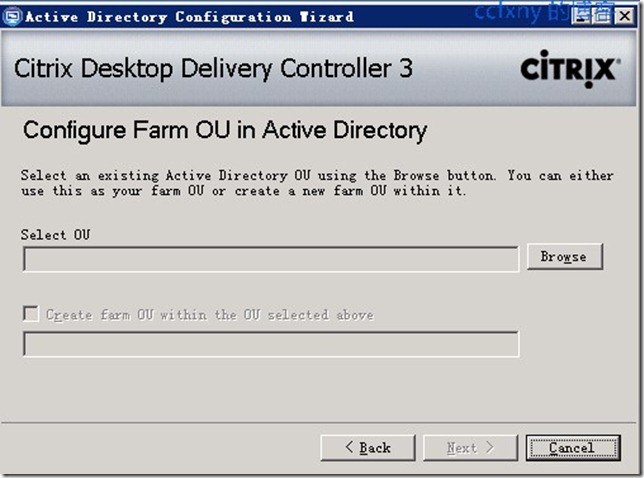
开始下一步

单击browse选择域中我们之前为xen创建的xendesktop这个OU
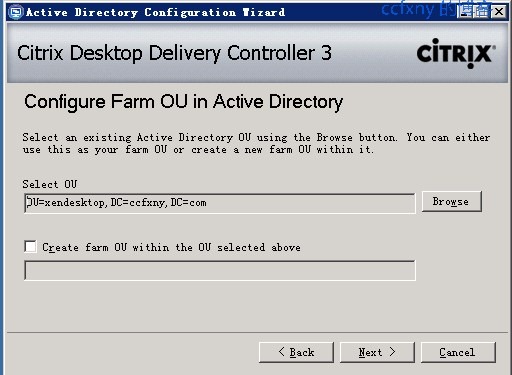
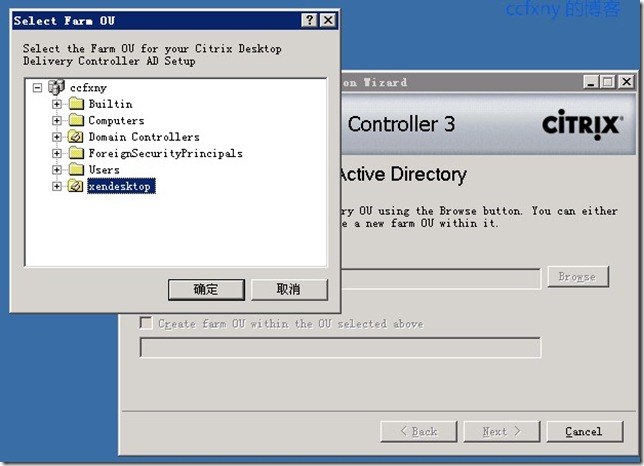
选中该OU并确定
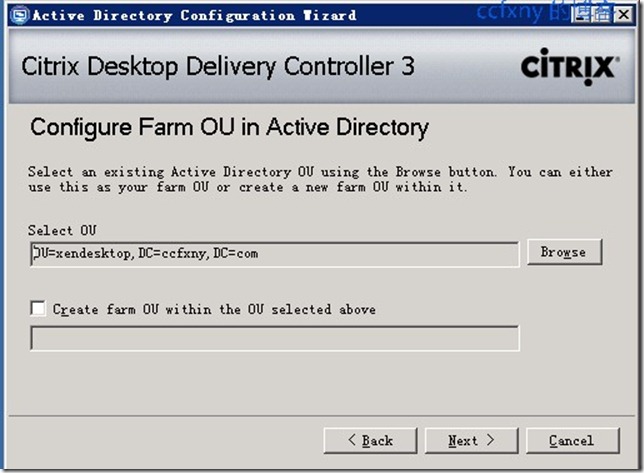
单击next下一步
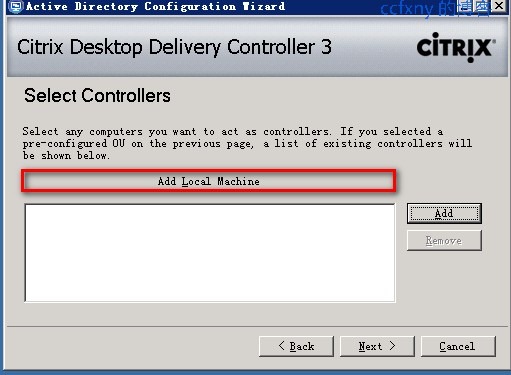
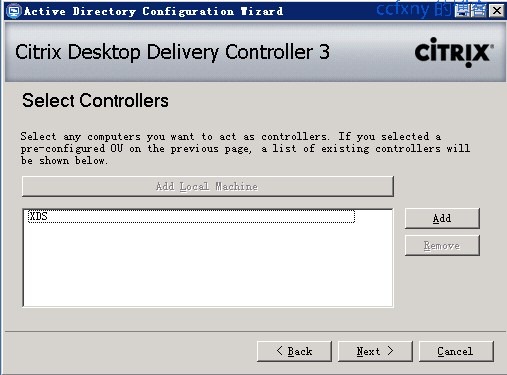
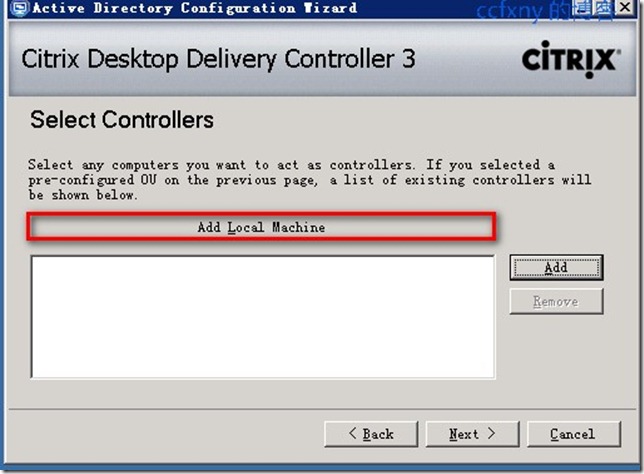
选择DDC服务器,单击add local machine选择本地服务器
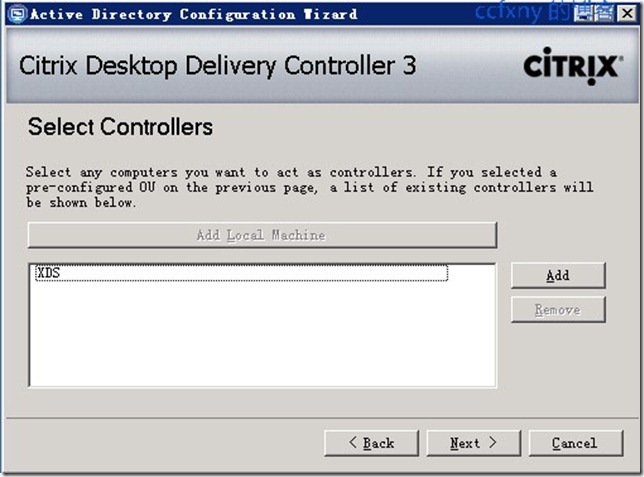
选中后单击next下一步
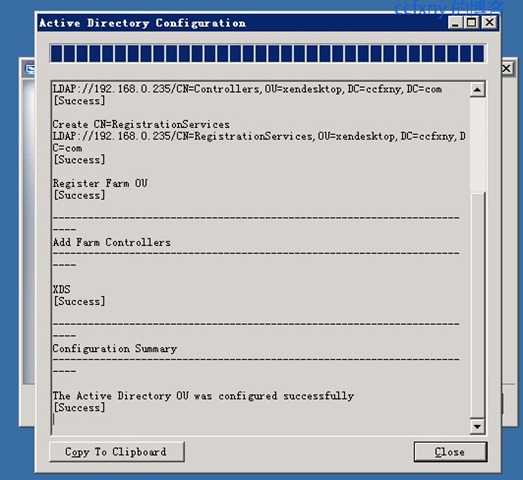
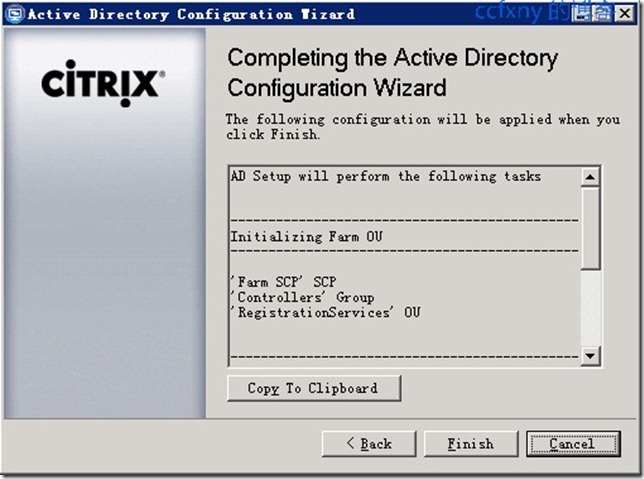
单击finsh进行配置
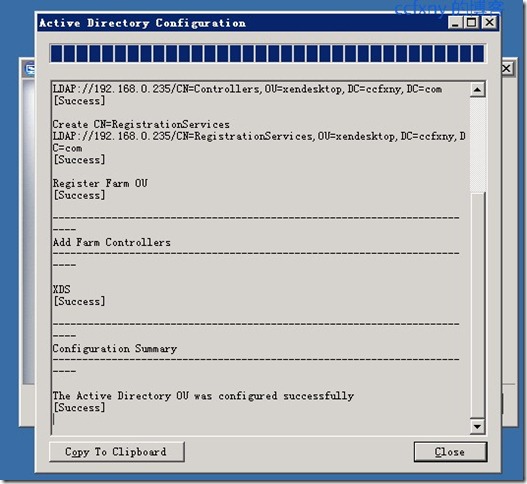
出现配置进度条,完成进度后单击close关闭对话框
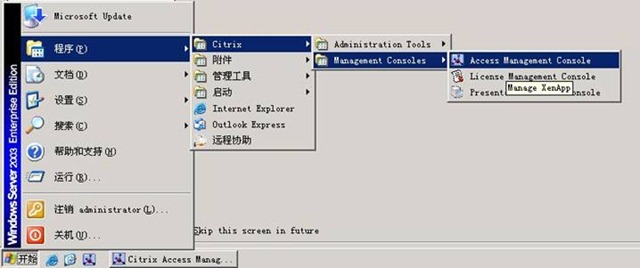
2.控制台配置
单击管理工具中的access management console打开控制台工具

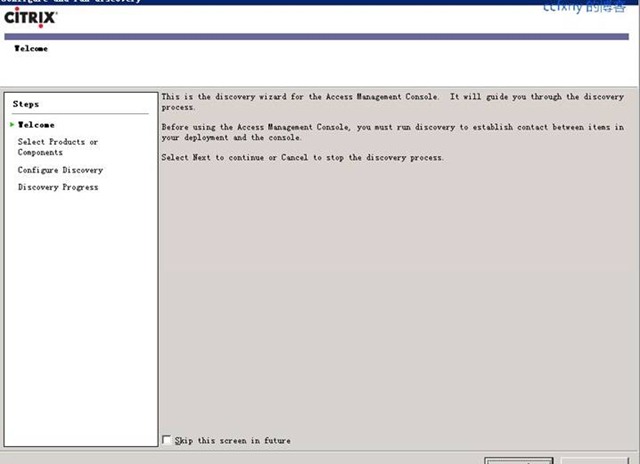
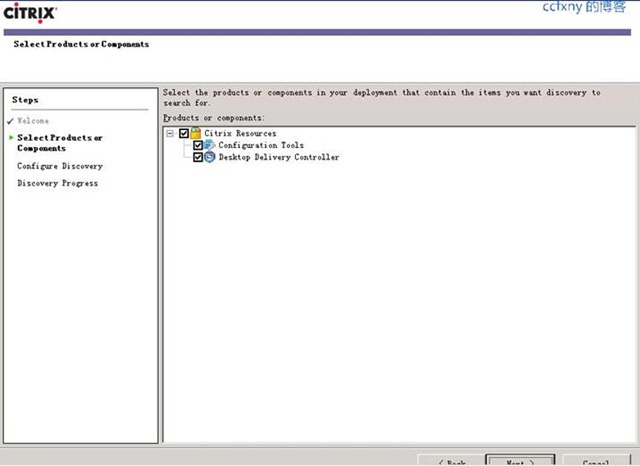
出现第一次使用配置
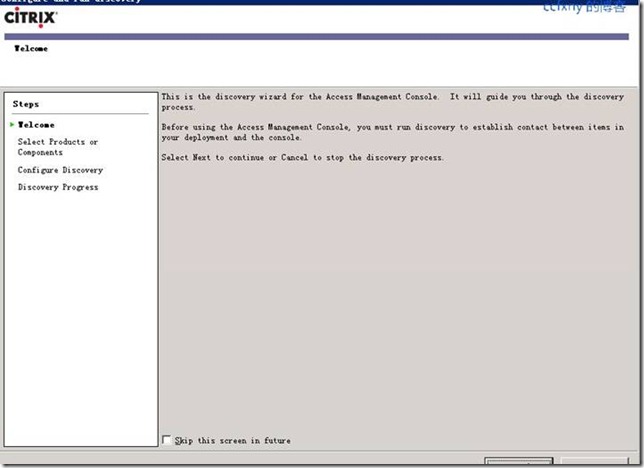
默认选择并下一步
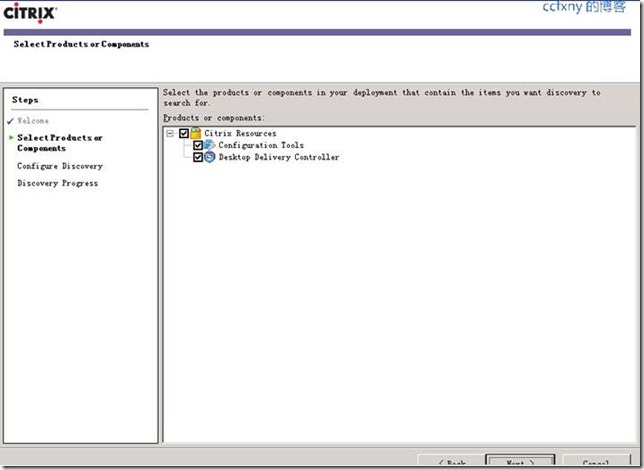
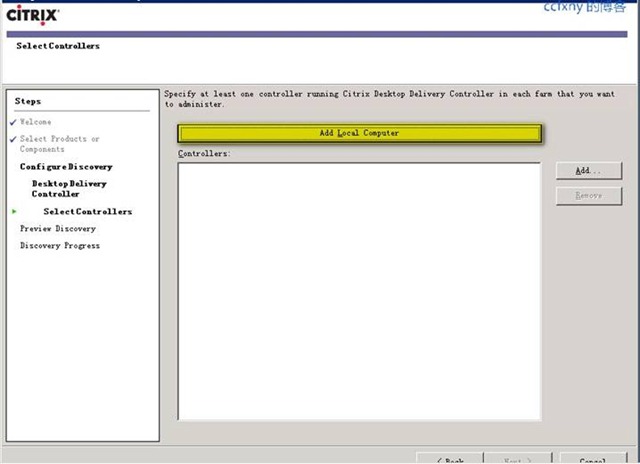
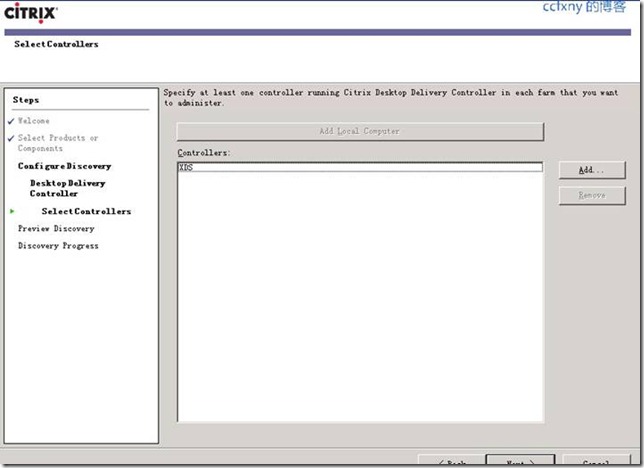
选择控制台使用的服务器,单击添加本地服务器即可
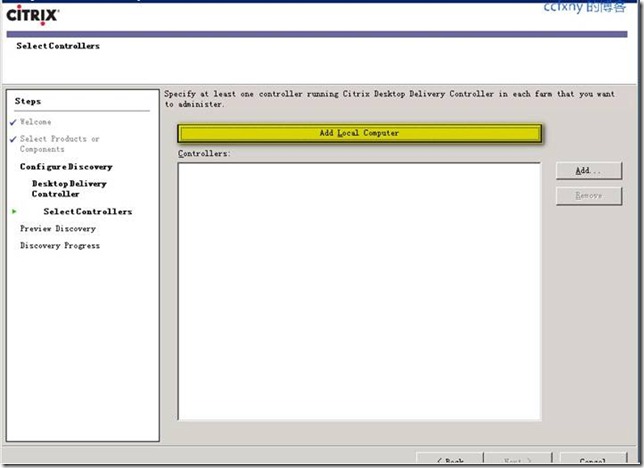
选中后next下一步
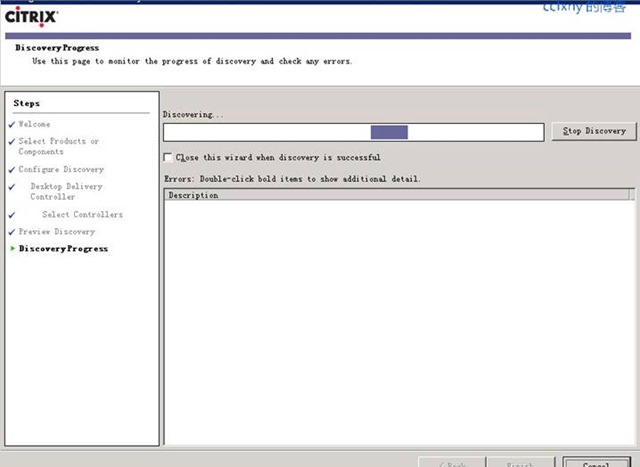
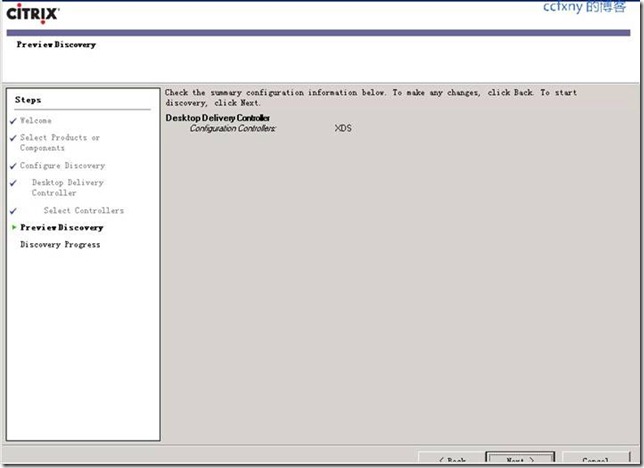
信息确认
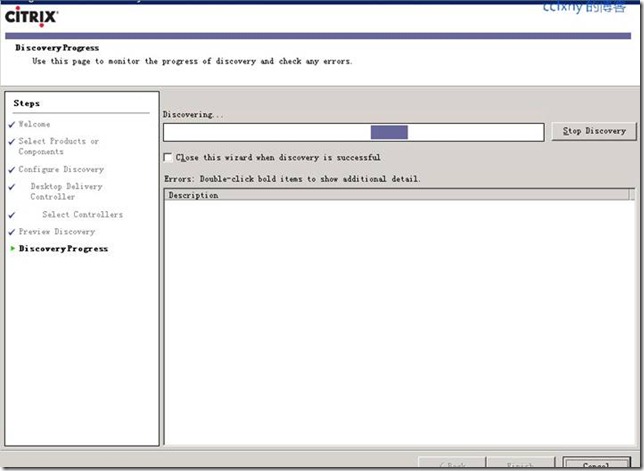
开始配置
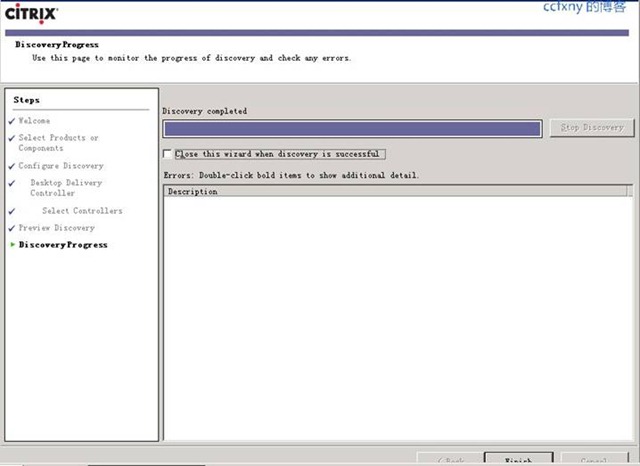
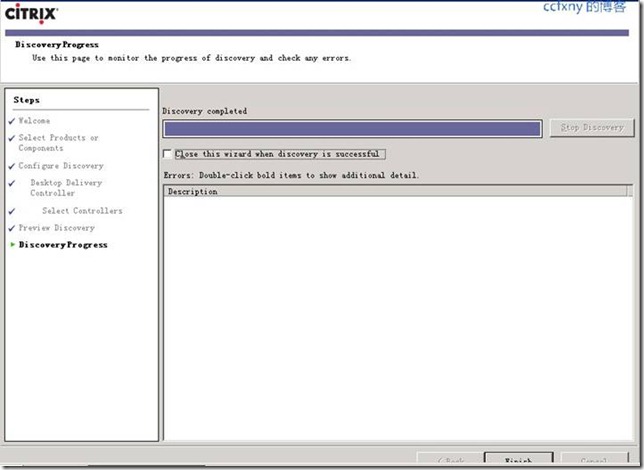
配置完成单击finsh借宿配置
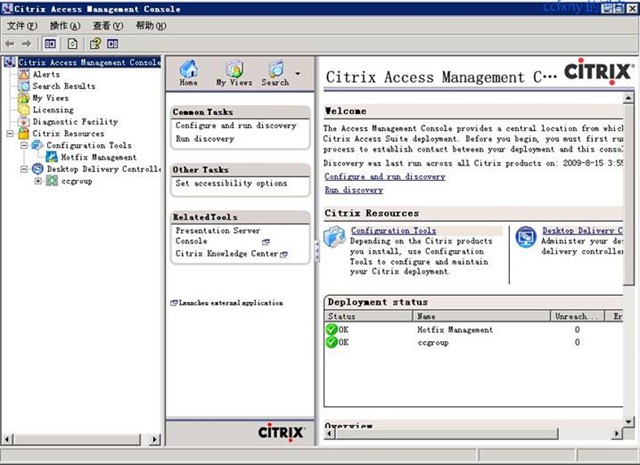
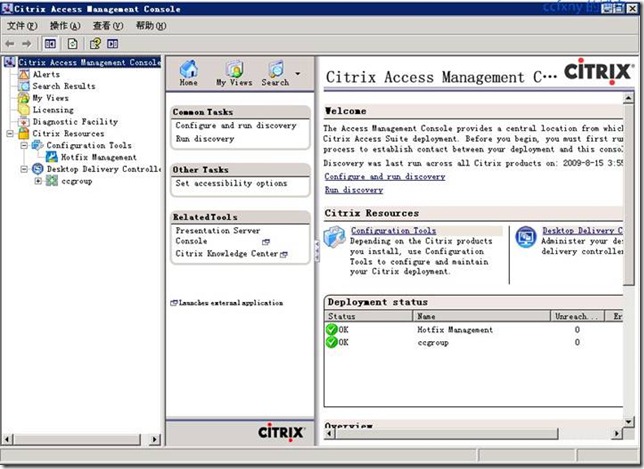
出现如图的控制台窗口
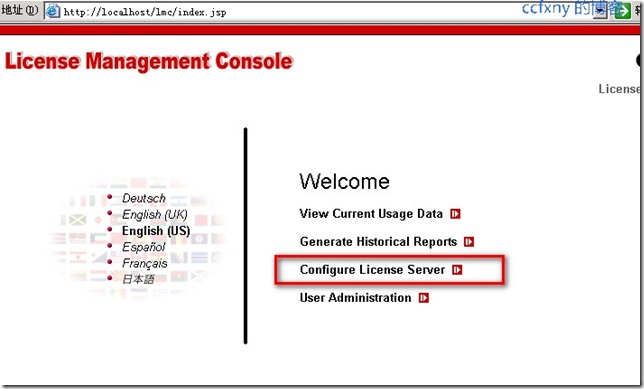
3.授权配置
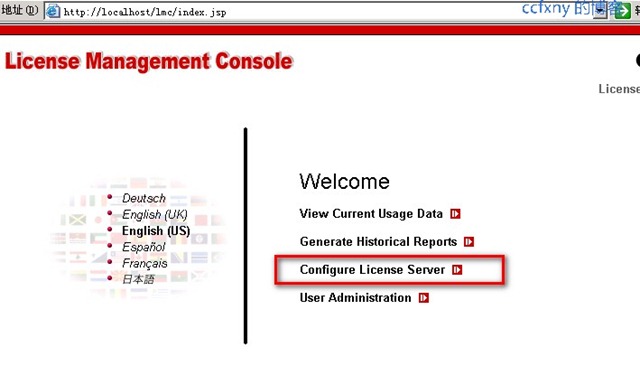
单击授权服务器管理器

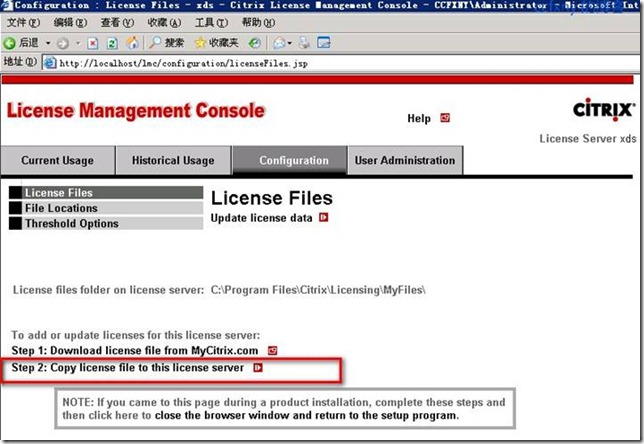
单击默认的授权服务器
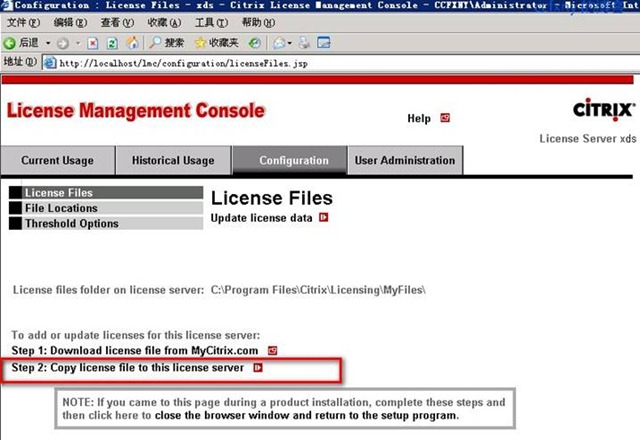
单击2上传授权文件
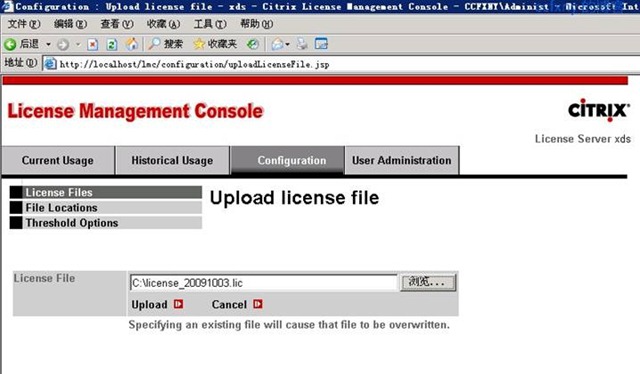
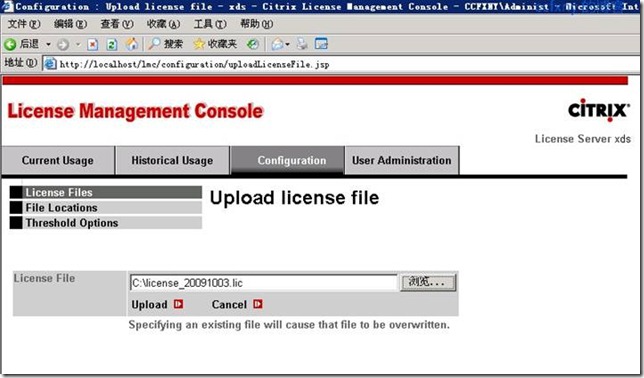
单击浏览选择好文静并单击upload上传授权文件,上传后关闭页面完成配置
阅读(945) | 评论(0) | 转发(0) |