思杰VDI二pvs配置 本文开始叙述配置PVS安装完成后的配置,其他配置在需要用到的时候后续再介绍
本篇为配置pvs以及dhcp
1.配置pvs服务器
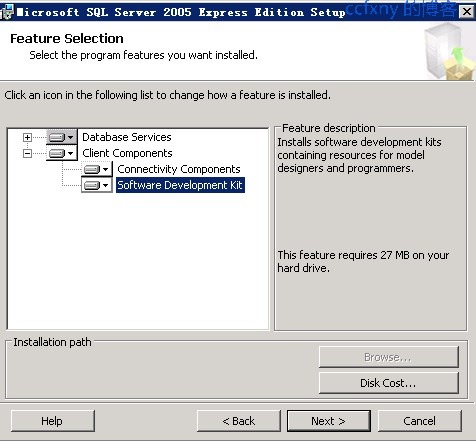
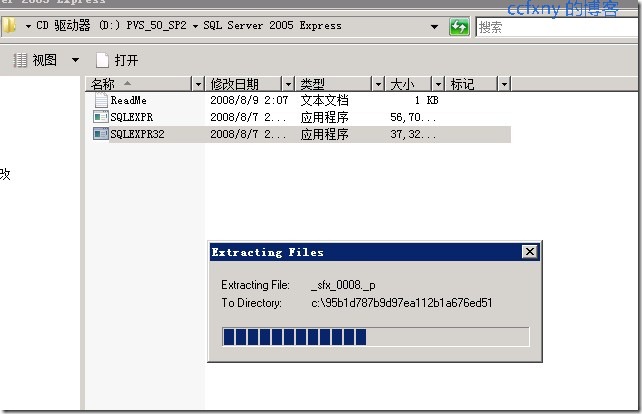
首先安装pvs光盘中的sqlexpress2005
双击该文件,解压文件
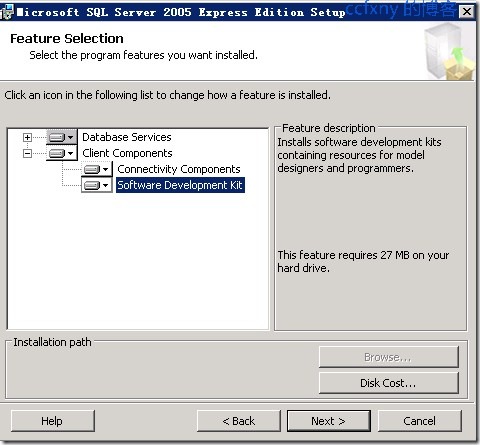
全选上安装,其他就不再详细描述了
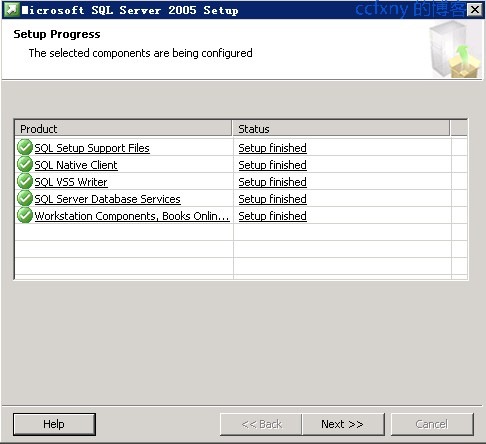
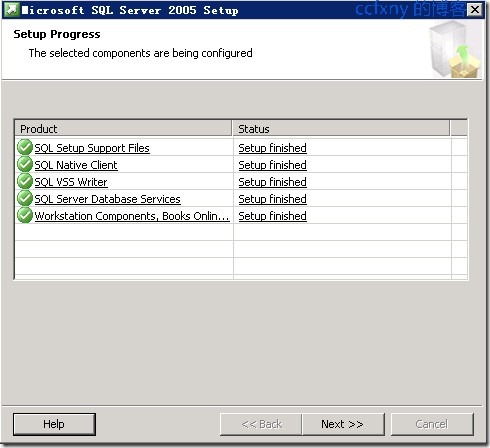
安装完成
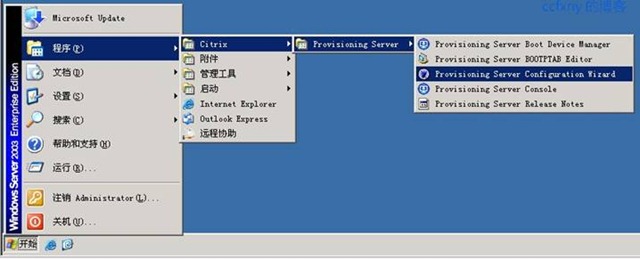
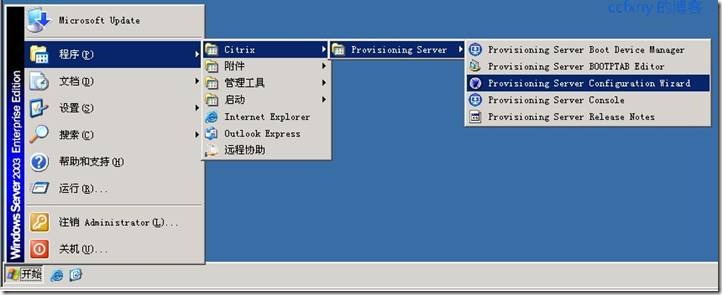
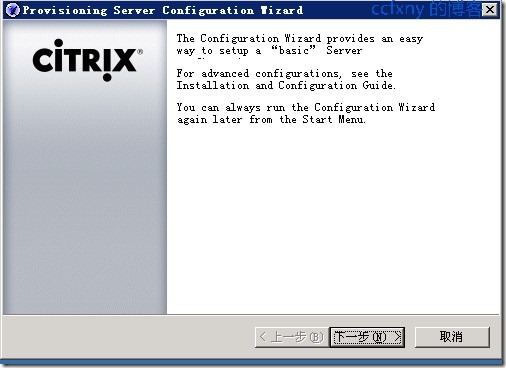
从开始菜单中打开配置程序,开始进行配置
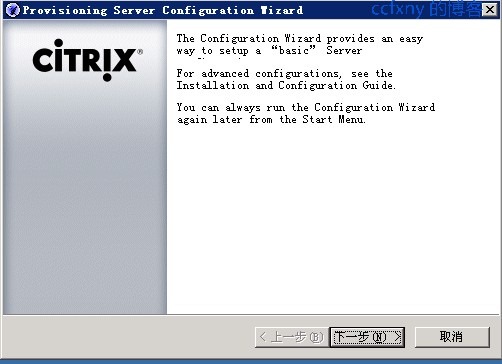
默认的配置向导
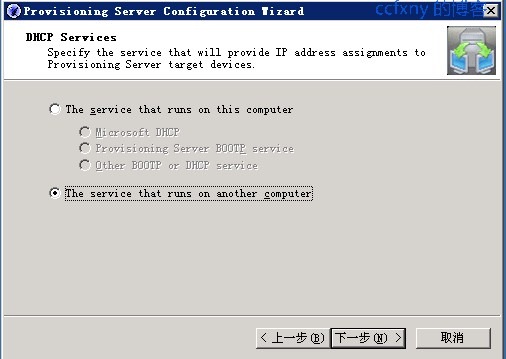
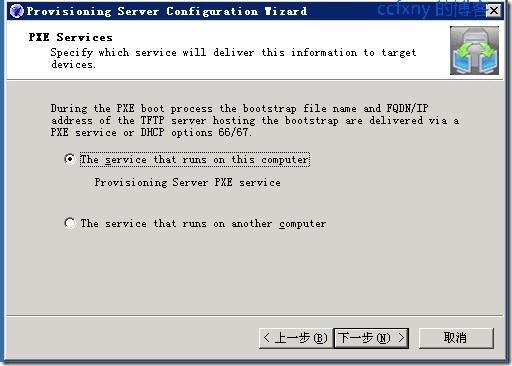
单击服务运行在这台电脑上

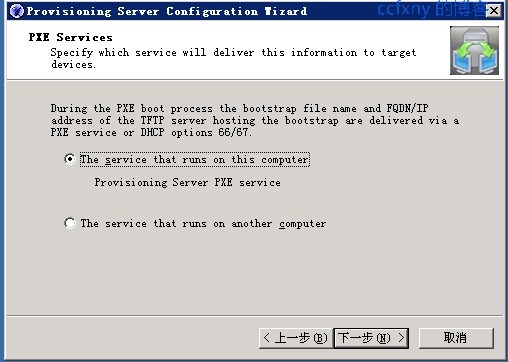
确认pxe运行于这台电脑上
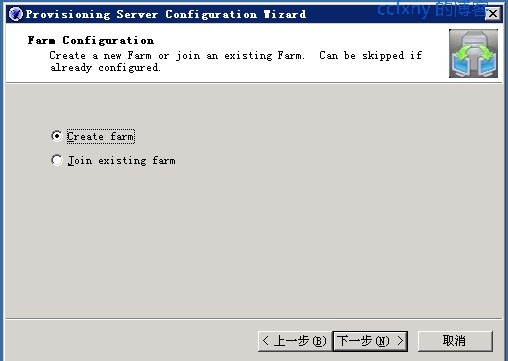
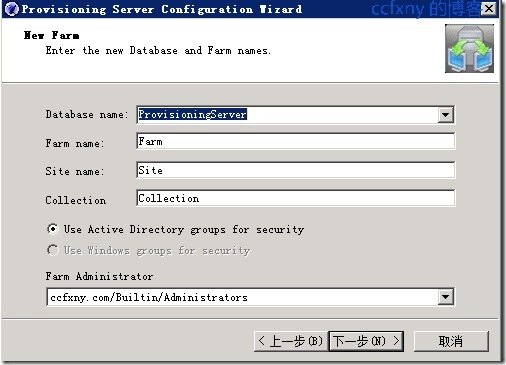
创建一个组

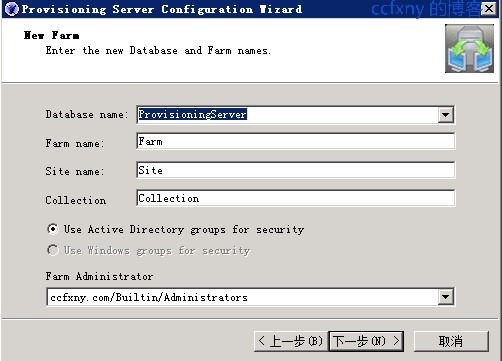
选择数据库服务器,本地的数据库服务器
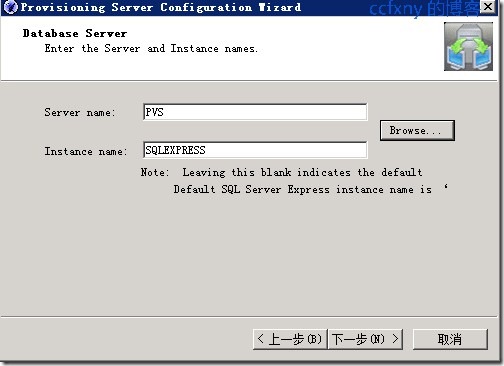
默认配置无需更改
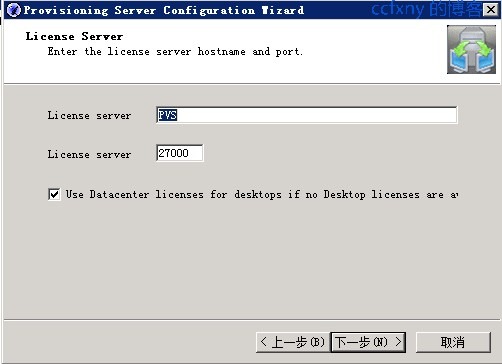
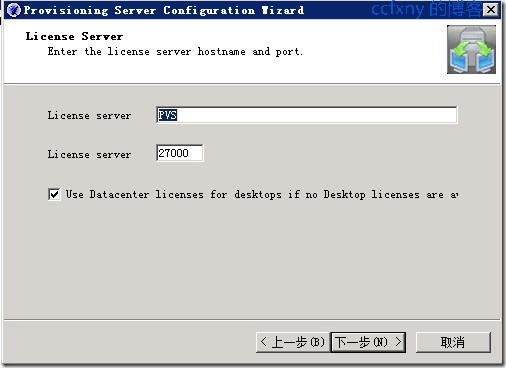
输入授权服务器的名称,这里根据自己的授权服务器输入,目前先输入的是自己的,后续的篇章会告诉大家如何安装授权服务器和更改授权
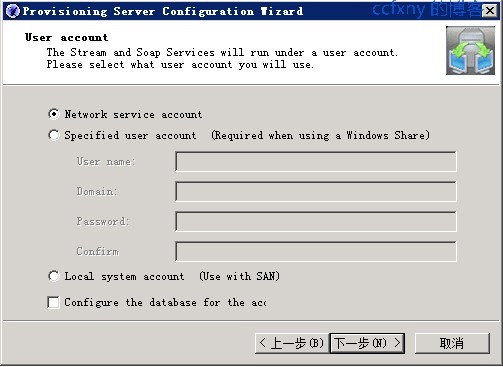
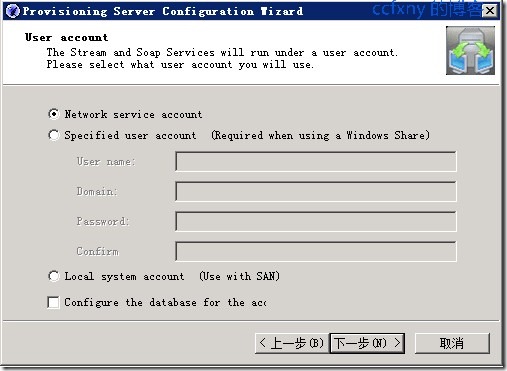
启动服务的账户,应该选择local system account本地系统账户,不要选图中的网络账户,否则后续会有无法启动服务的错误!切记切记!
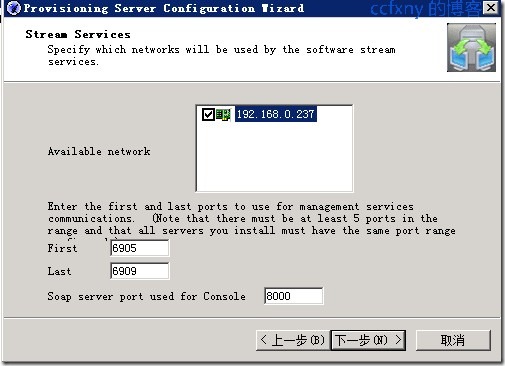
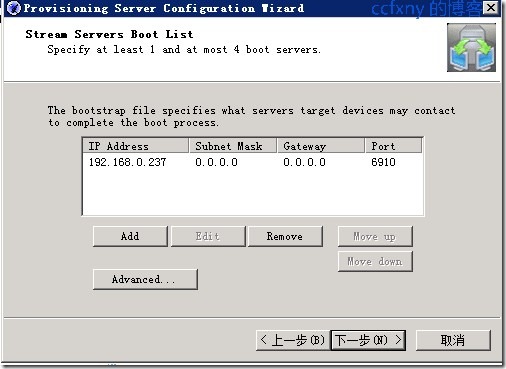
访问pvs的端口等
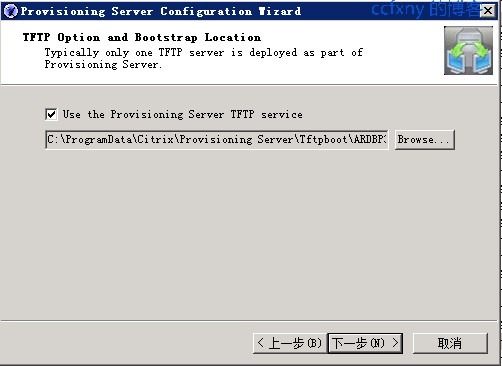
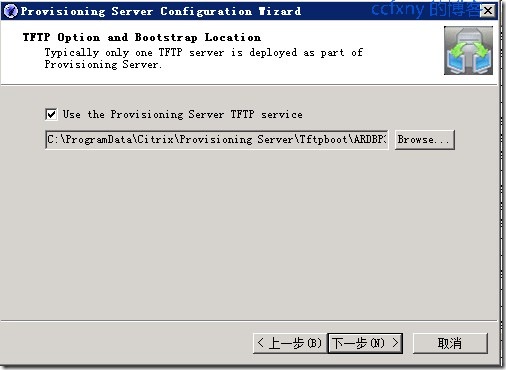
启用tftp,并且TFTP的文件名是默认的ardbp32.bin
Boot访问,默认即可
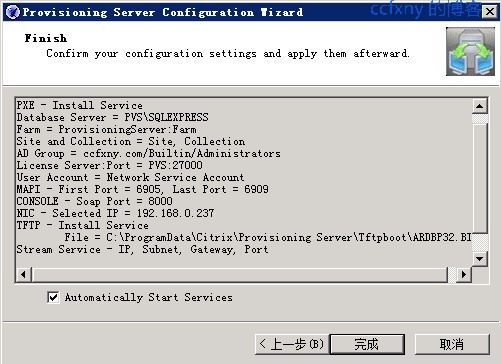
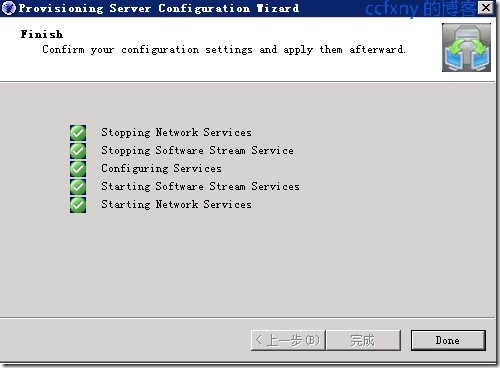
信息总揽

OK,配置完成
下面讲讲如何配置dhcp以便客户端能从网络启动镜像
2.配置dhcp
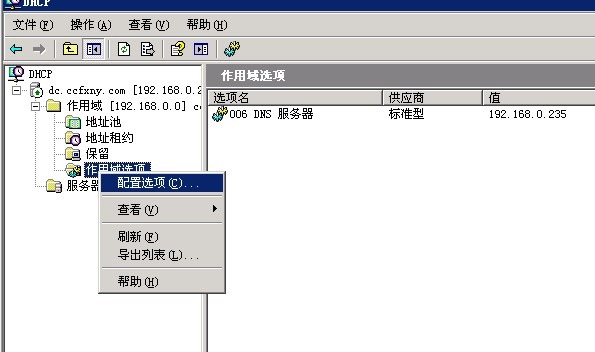
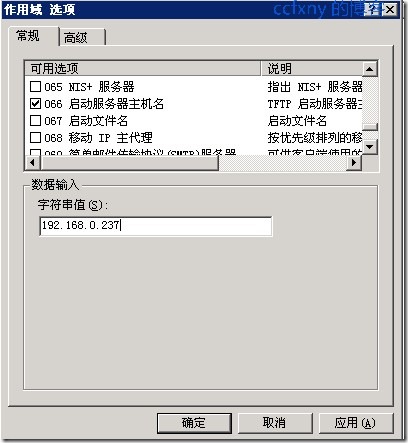
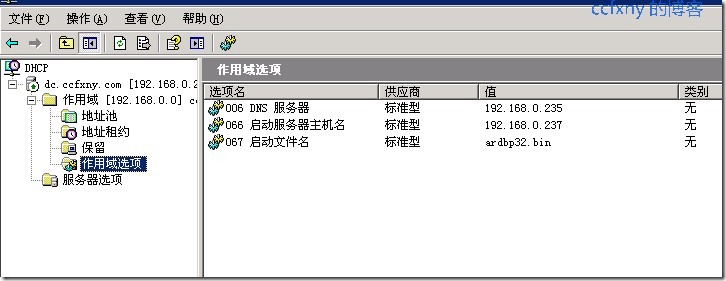
打开Dhcp服务器,单击作用域选项,右键配置选项

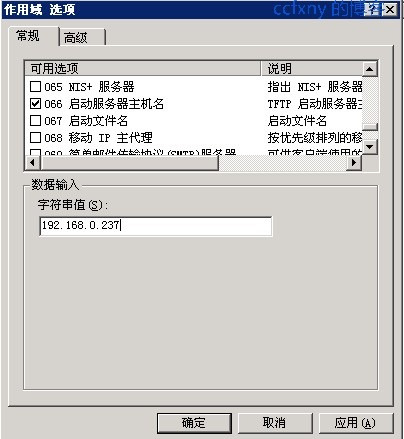
在066输入pvs服务器的IP地址
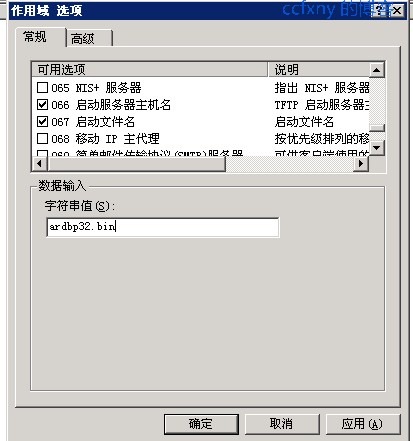
在067输入上文设置的ardbp32.bin
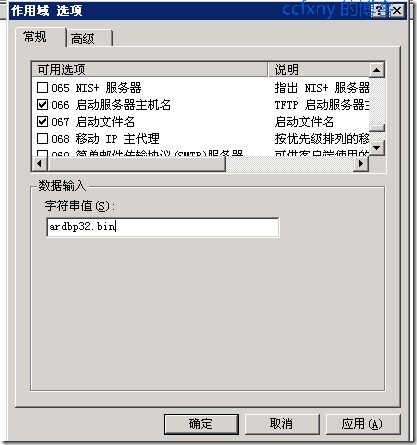
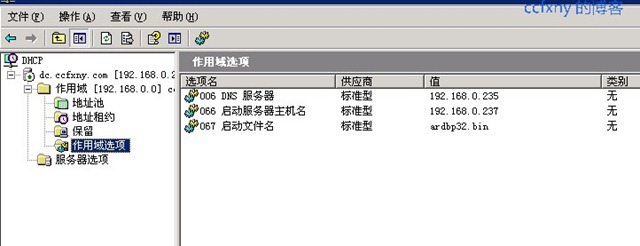
最后单击确定完成如图
阅读(787) | 评论(0) | 转发(0) |