2008R2Win7管理十九TS终端之二remoteapp
本篇介绍ts终端中的remoteapp,远程应用发布,将本地程序通过remote和web发布出去,这样用户可以在远端通过web或者系统自带的remoteddesktop连接上远程的应用来工作,比如将erp的客户端发布到远端,这算典型的应用.由于应用在远程运行,本地端只是图形显示界面而已,所以流量要求不大.
本篇分为1.安装应用程序2.创建remoteapp程序3.设置web显示4.web连接remoteapp 5.创建rdp包 6.rdp包连接测试 7.msi包创建 8.msi包安装使用和连接
开始上正题
1. 安装应用程序
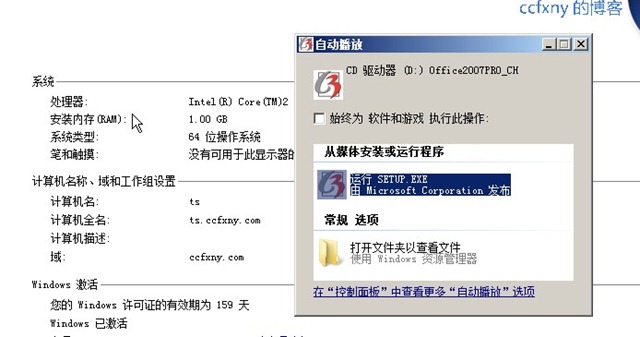
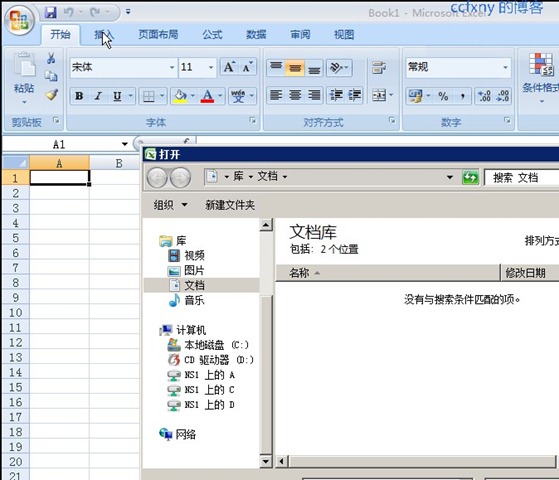
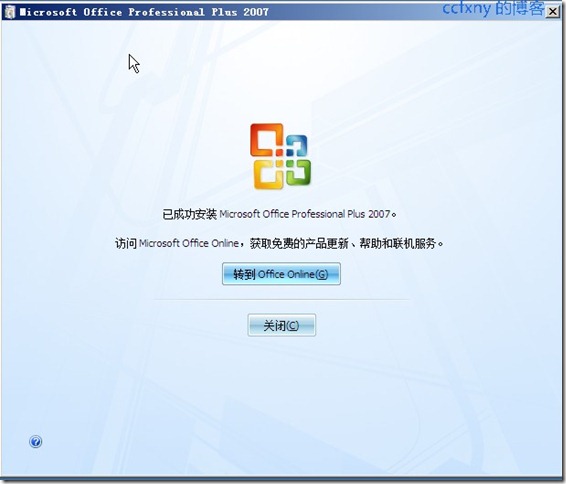
在上篇将服务都安装完成后,本篇可以开始安装应用程序在ts这台机器上了,本例安装office2007吧.
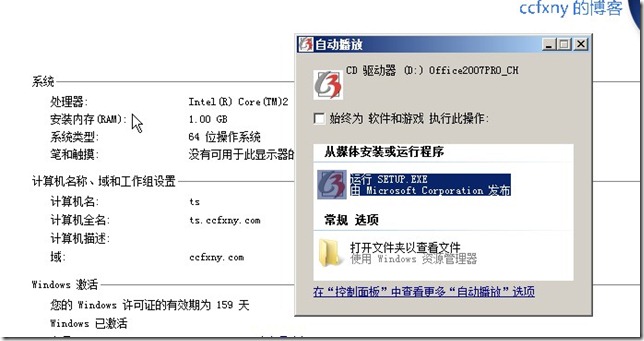
安装过程不再详细描述
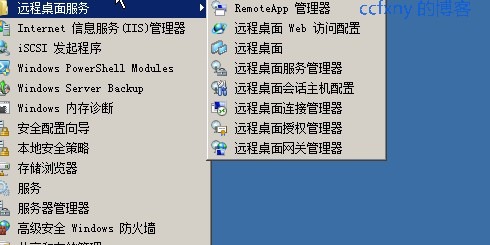
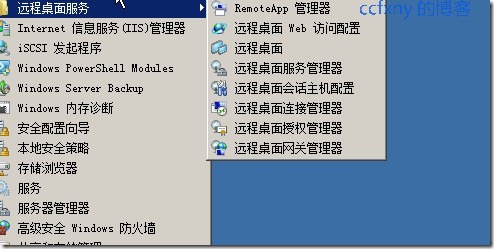
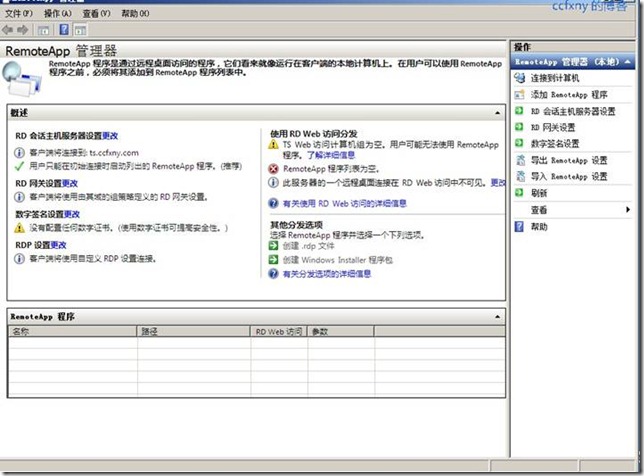
安装完成后就可以开始设置分发了,单击管理工具中的远程桌面服务-reoteapp管理器
2.创建remoteapp程序
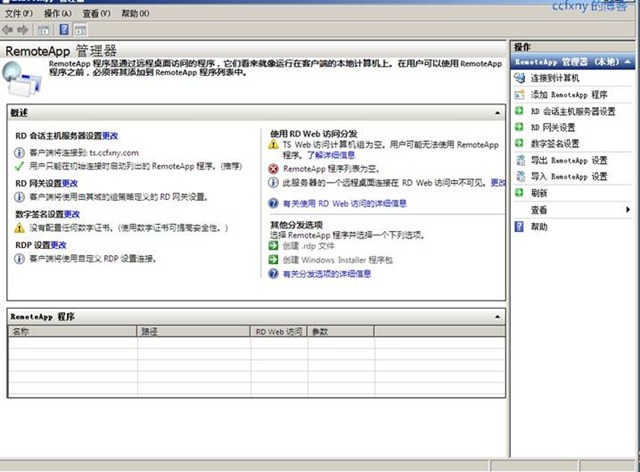
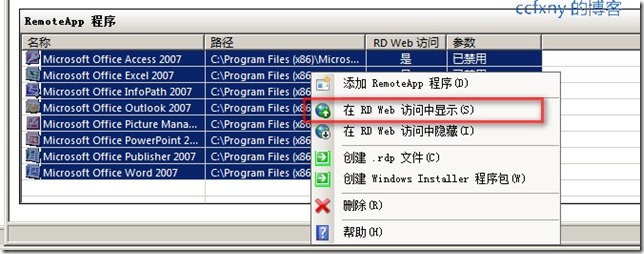
打开管理器如图,单击添加remoteapp程序,来讲程序添加到remoteapp中来发布.
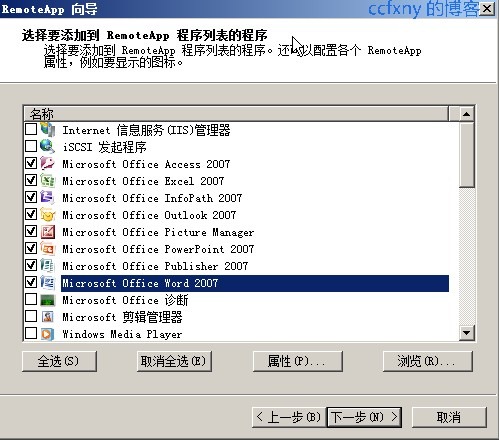
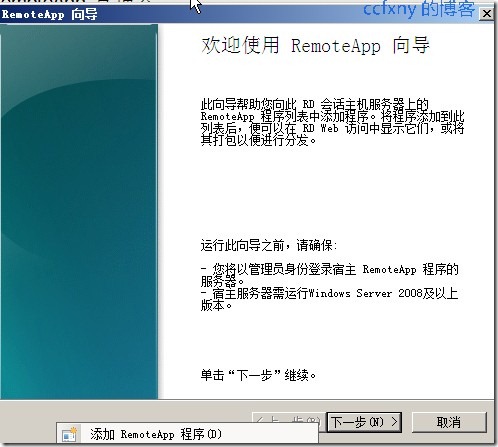
打开如图的向导
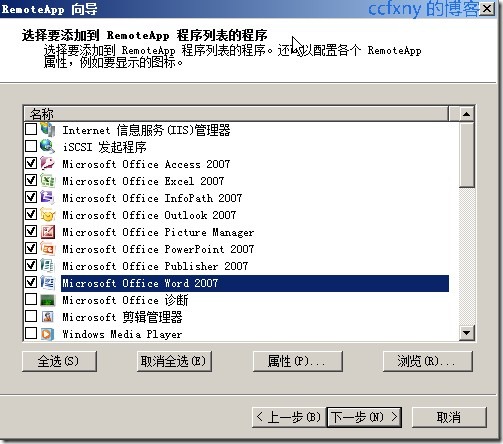
选择我们已经安装OK的程序,本例选择所有office程序
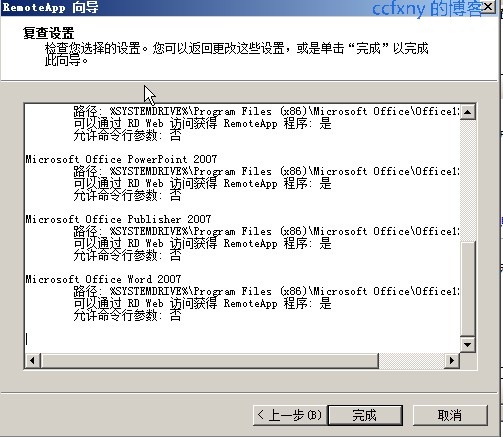
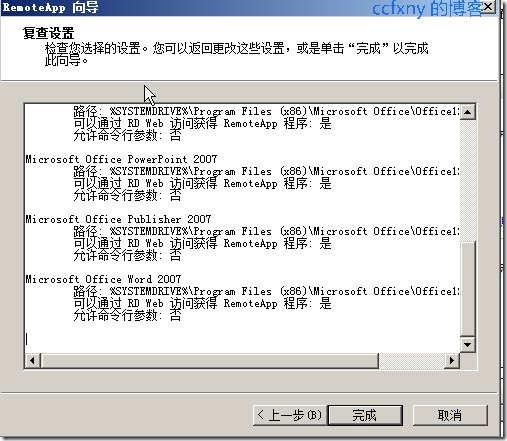
单击完成即可完成
3.设置web显示
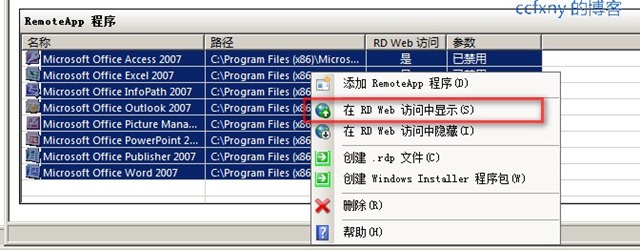
可以在管理器里面看到程序已经添加到管理器,下面要做的就是将这些程序创建成rdp或者msi供客户端从共享打开该rdp或者msi来访问我们发布的应用程序,本例先来web访问,选中在web中显示
4.web连接remoteapp
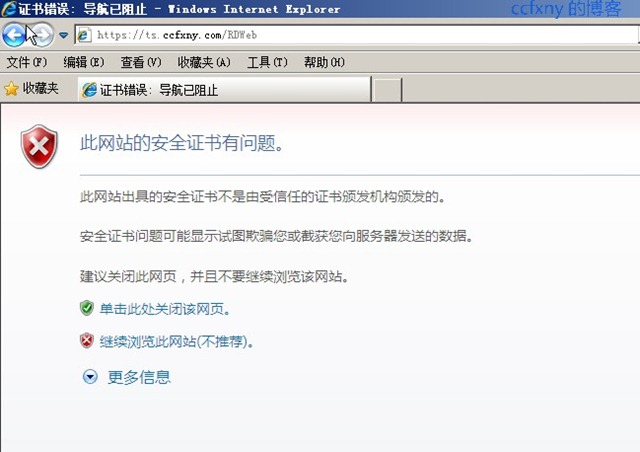
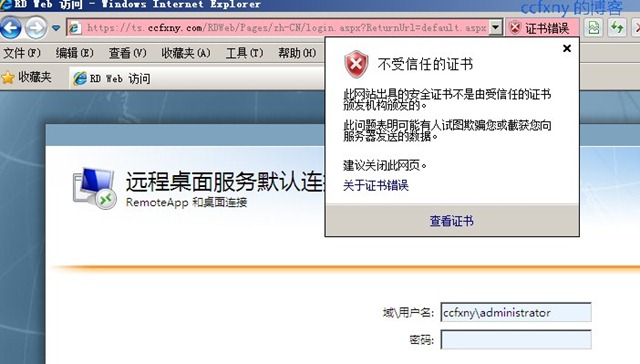
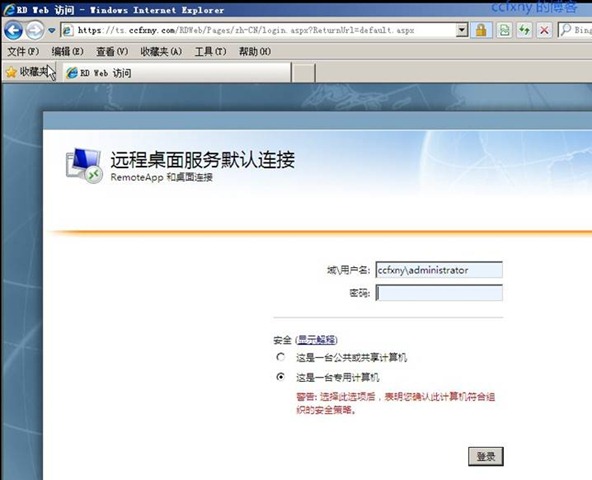
然后我们在浏览器中打开如果我们输入http的非加密页面也会自动跳转到该加密页面.
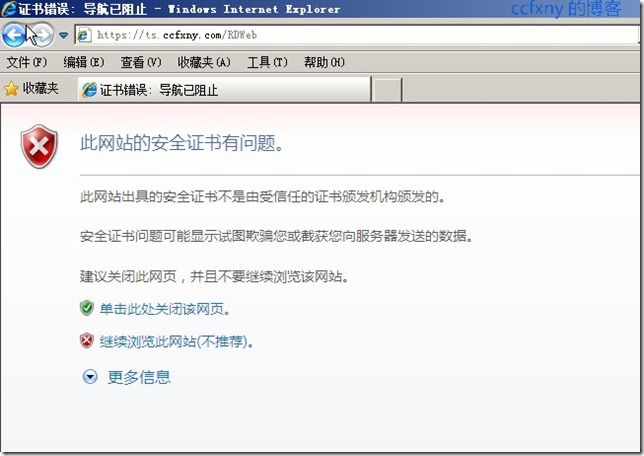
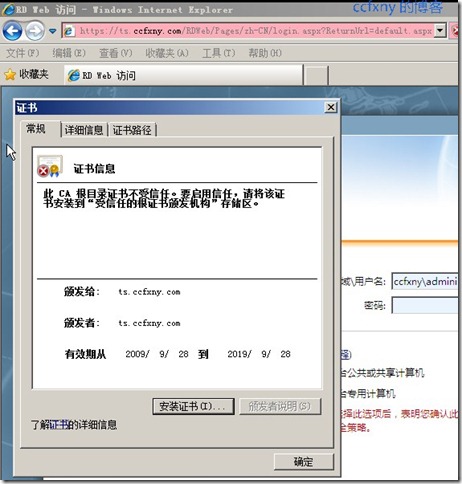
然后我们单击继续访问,出现如图的页面,单击证书错误
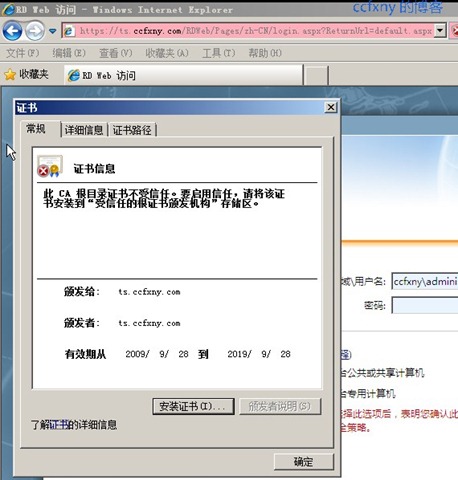
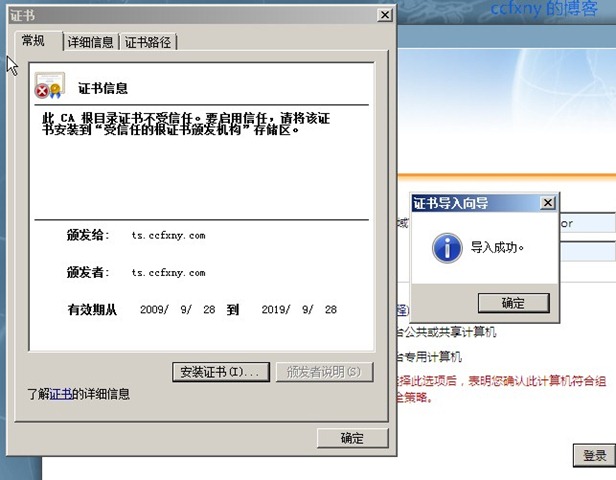
选择查看证书,然后我们安装证书
单击安装证书
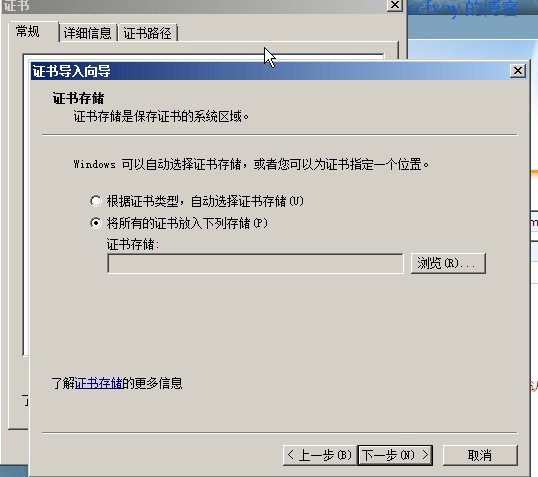
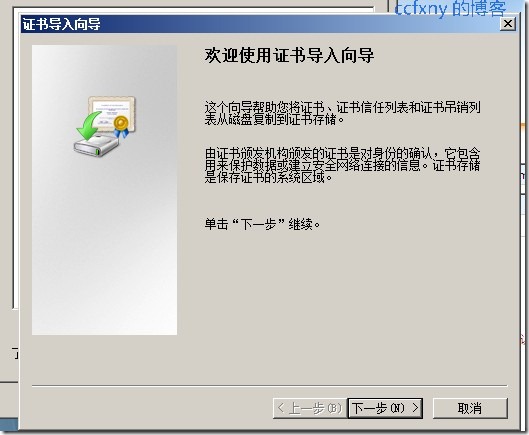
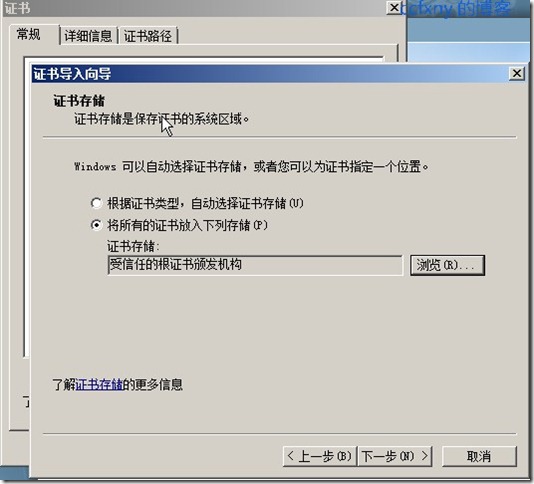
导入证书向导
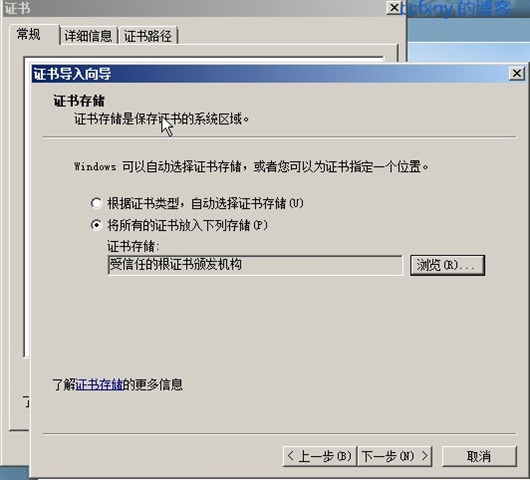
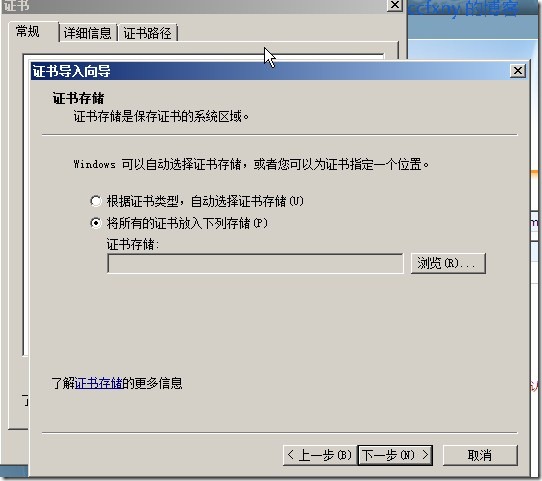
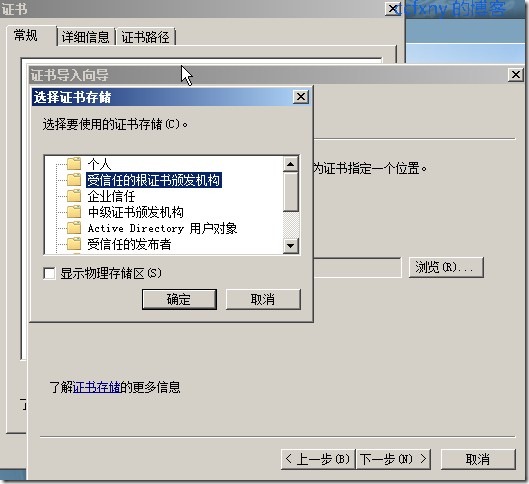
选择证书存放区域,放到受信任的根证书颁发机构
选择如图
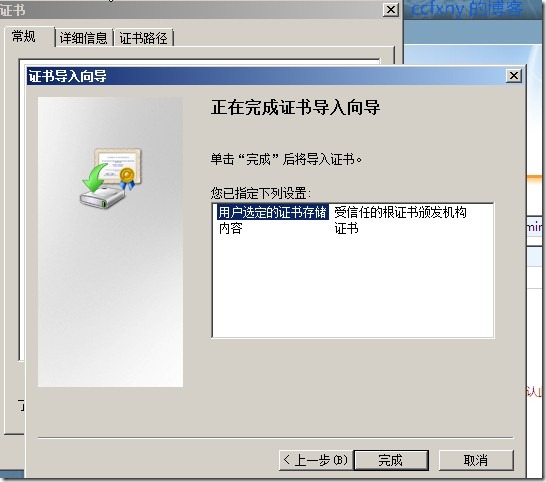
单击下一步完成导入
单击完成
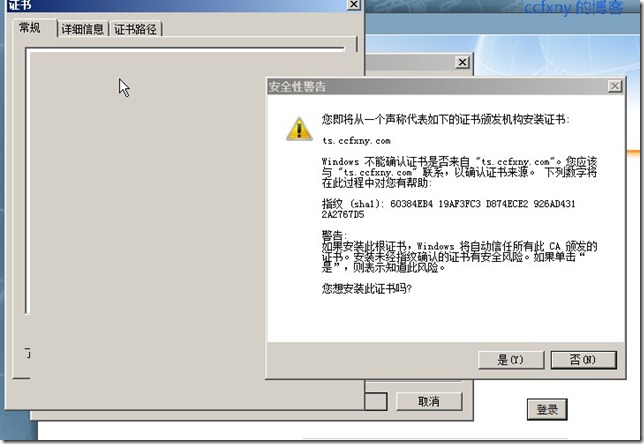
确认导入,单击是.
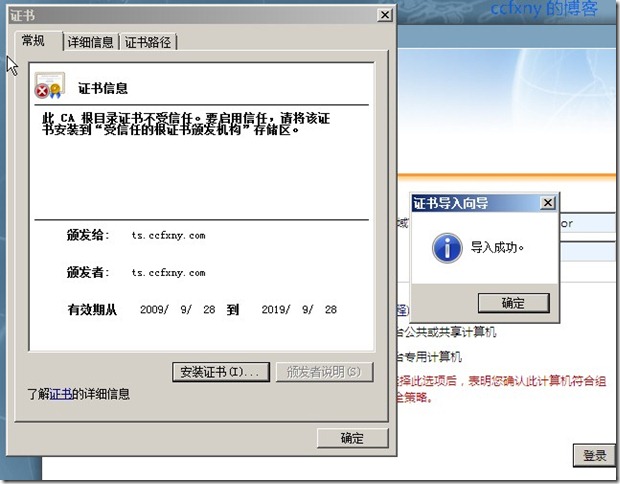
导入完成,单击确定,并重新打开ie
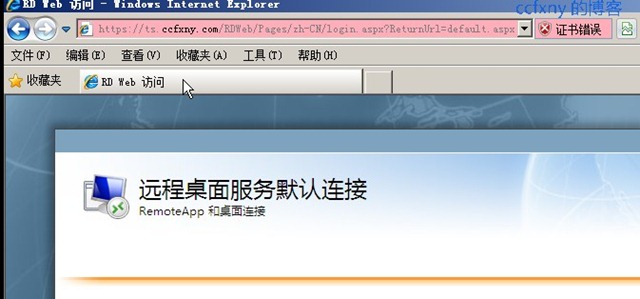
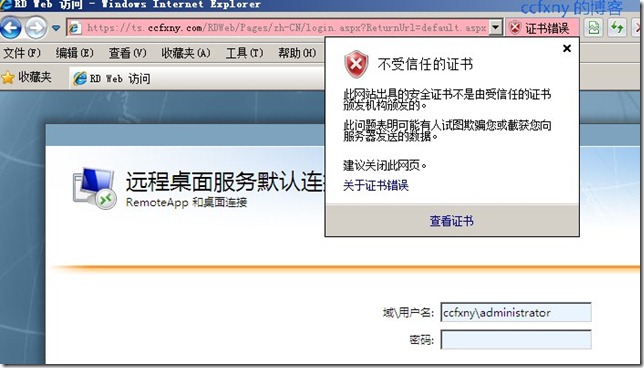
此时登陆即正常访问,不会有证书错误了
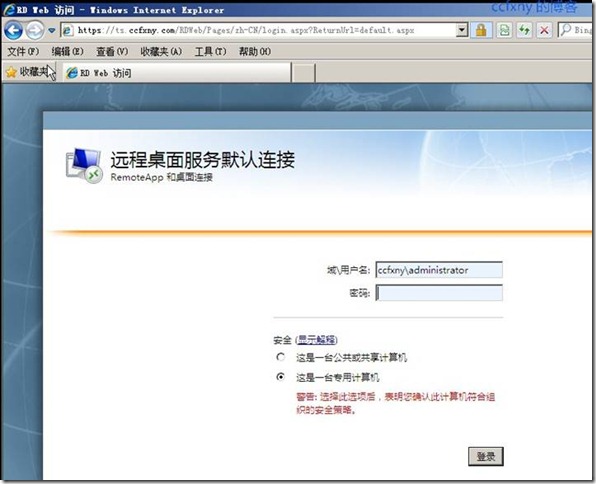
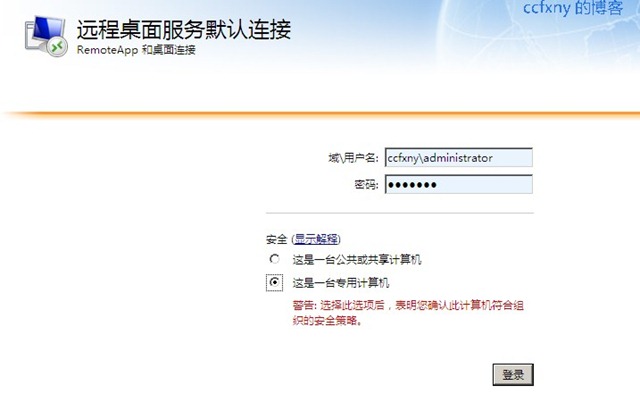
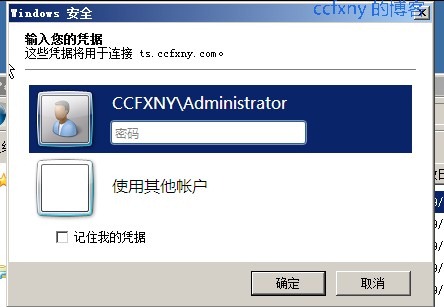
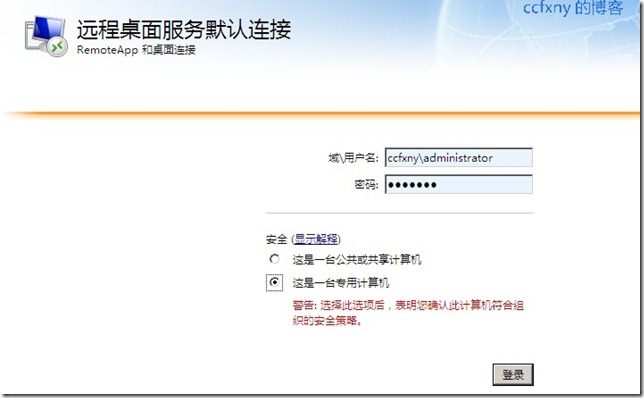
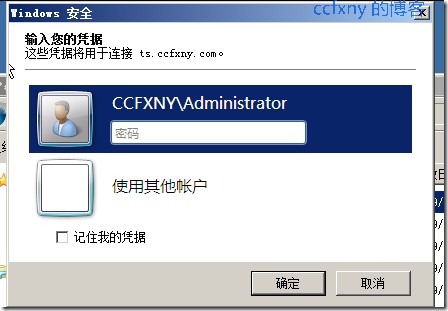
输入域用户名和密码登陆
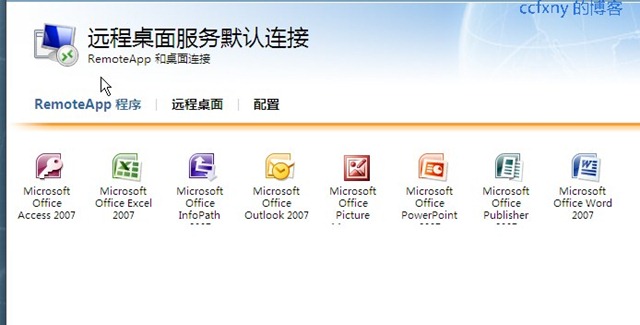
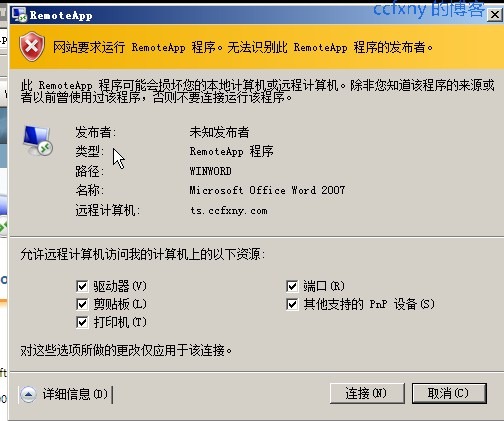
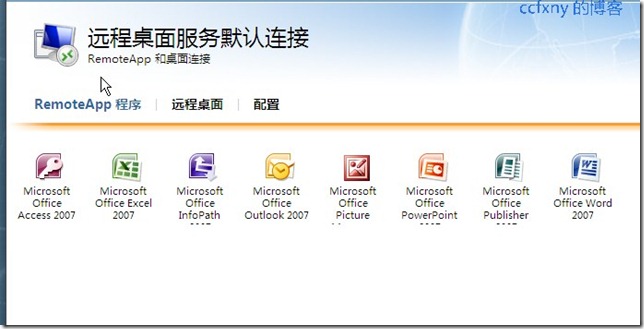
登陆后如图,单击任一程序,打开远程程序.
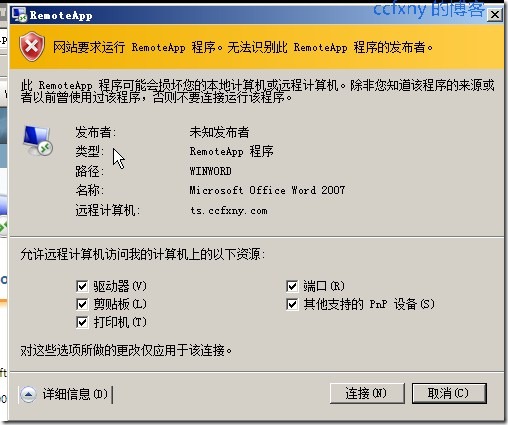
我们单击word,出现连接选项,选择是否将本机资源也连接到远程,例如本机的磁盘等,选好后,单击连接
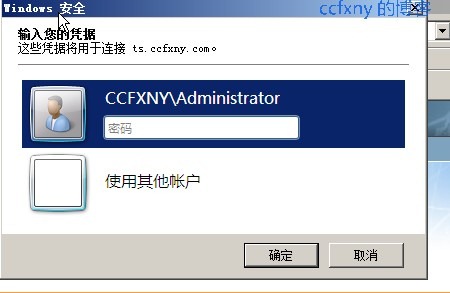
然后这里再次输入密码确认

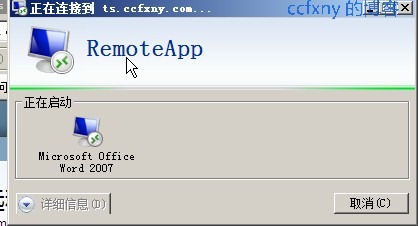
开始连接
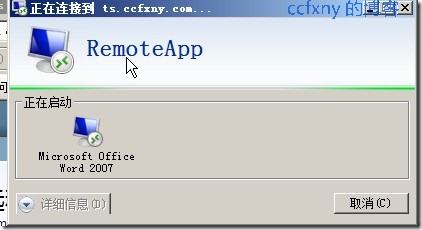
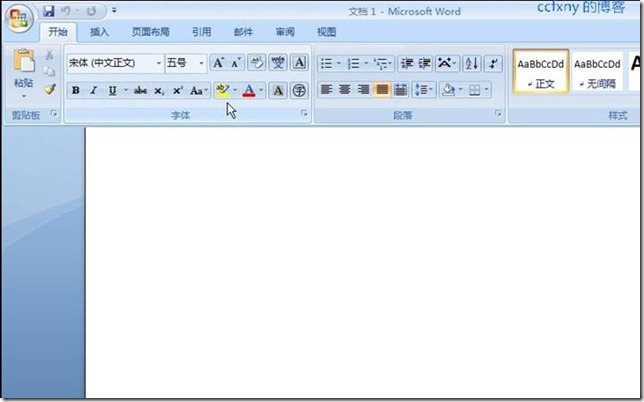
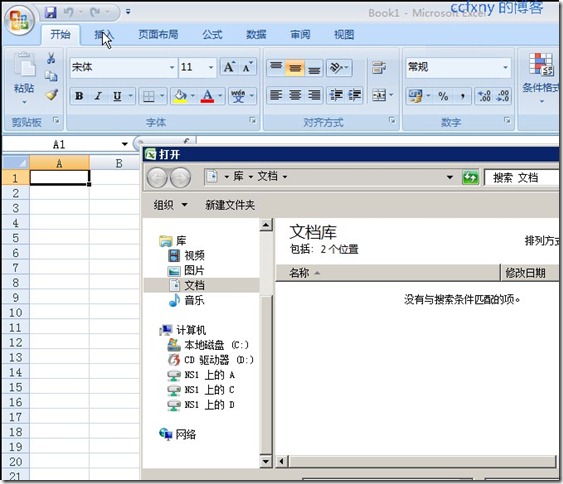
;连接OK,程序打开
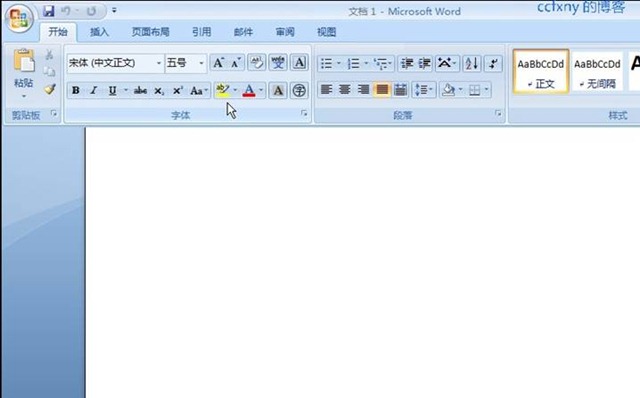
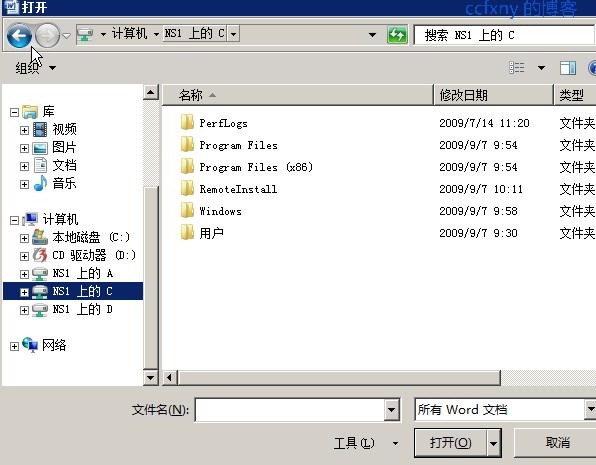
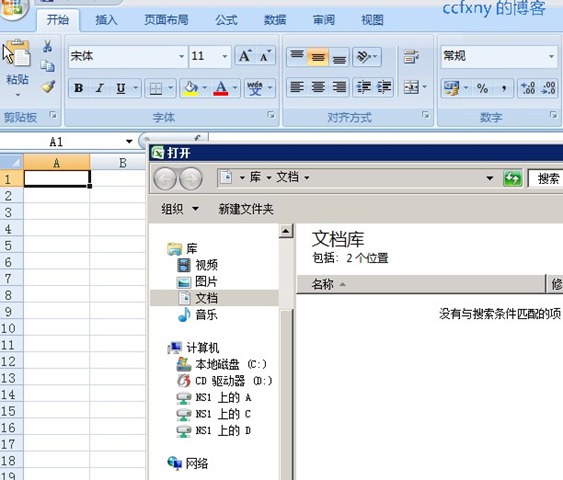
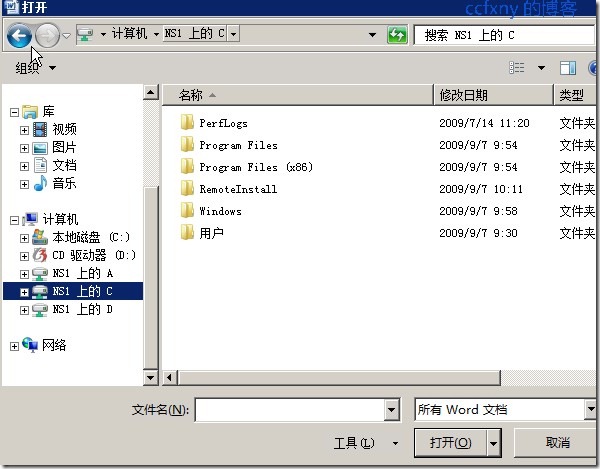
单击打开,可以看到自动将本机上的磁盘给映射成网络盘了,名字为本机的名字上的各种盘符,例如本机是ns1,那么网络盘就是ns1上的c和ns1上的d这样的名字,我们可以从这里打开本机上的文件等.
5.创建rdp包
下面我们试试RDP,rdp文件创建后可以放到共享盘,提供给客户机来连接使用,和web比较各有各的优势.
右键单击-创建rdp文件
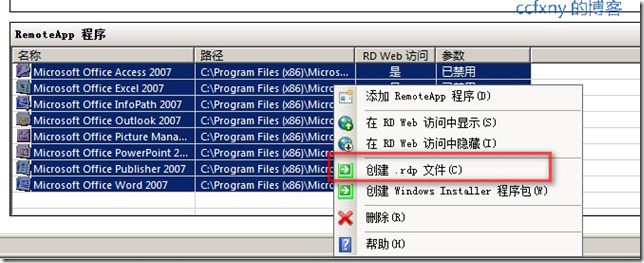
打开向导如图

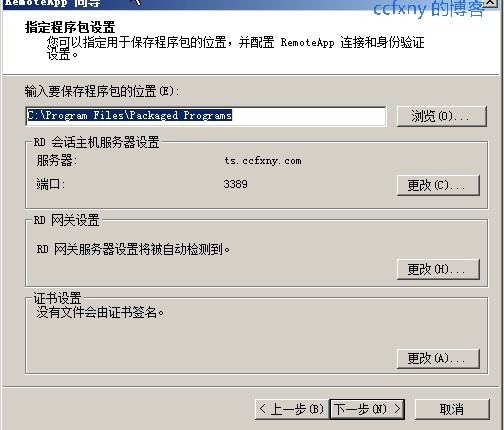
选择创建的程序包存放位置
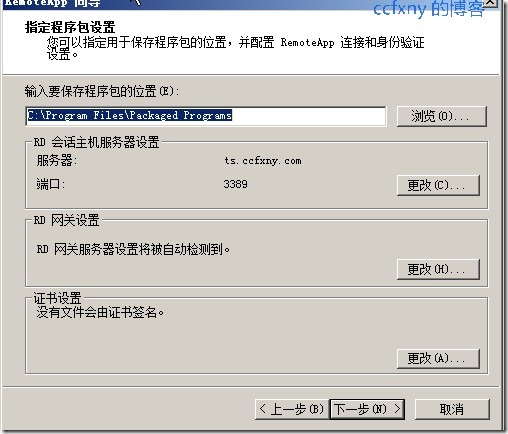
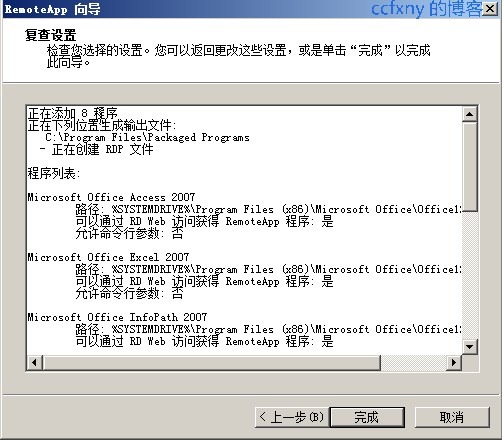
信息总揽以确认
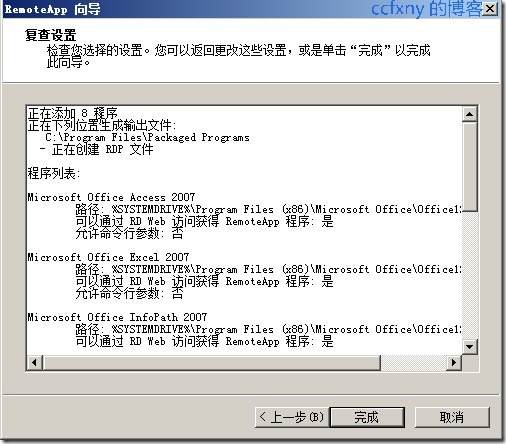
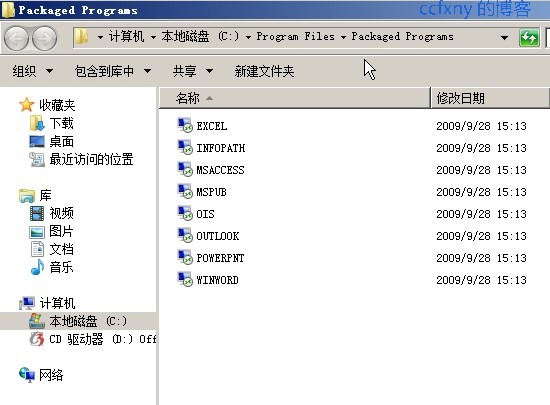
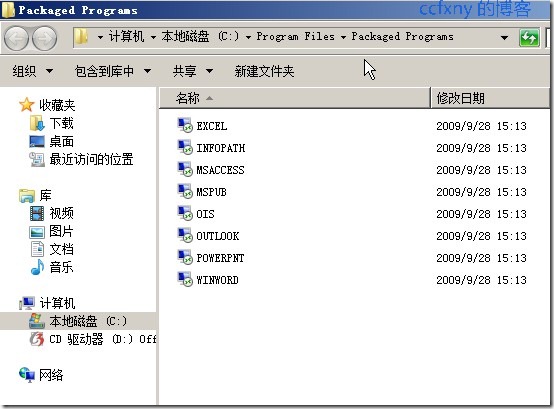
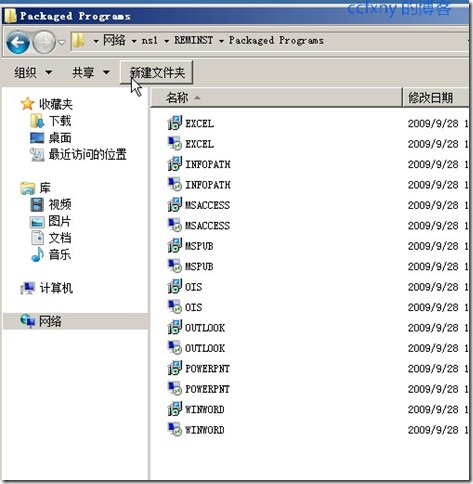
单击完成,完成创建工作,我们打开该文件夹,可以看到创建OK的rdp文件.
6.rdp包连接测试
我们把它拷贝到共享中,从ns1访问ts

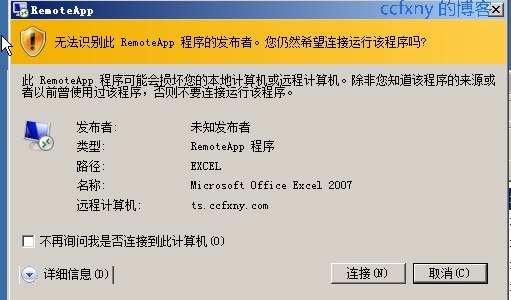
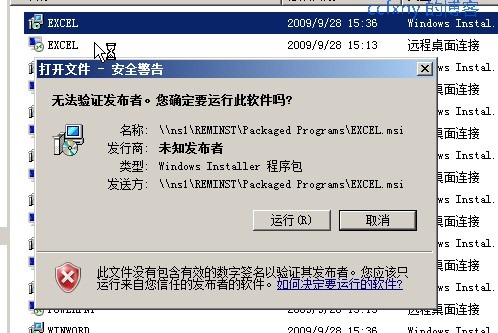
在nas1上打开某个rdp,例如图的excel,会提示如图警告,单击连接以继续.
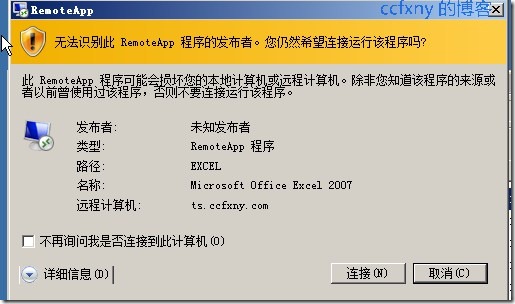
输入域用户名和密码以确认
OK,连接上了,程序自动打开,可以看到如图,跟web打开的效果是一样的,本地盘等自动映射.
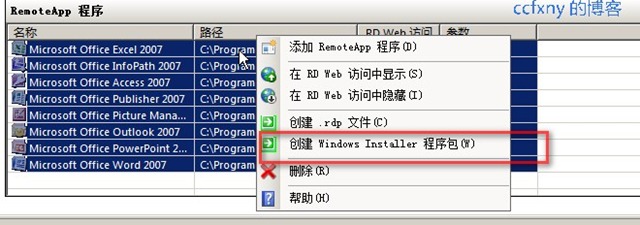
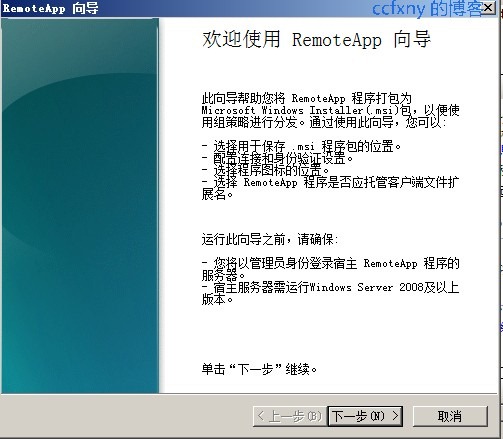
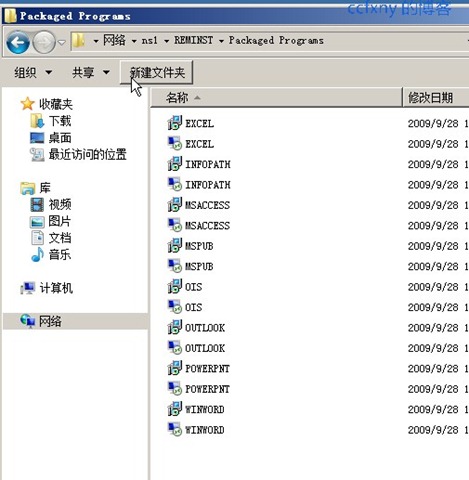
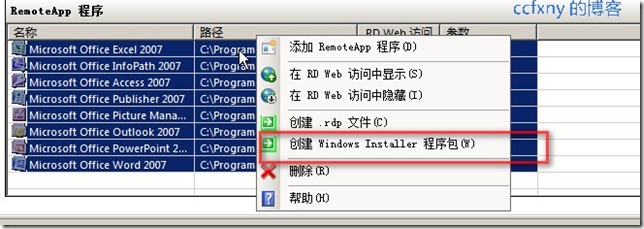
7.msi包创建
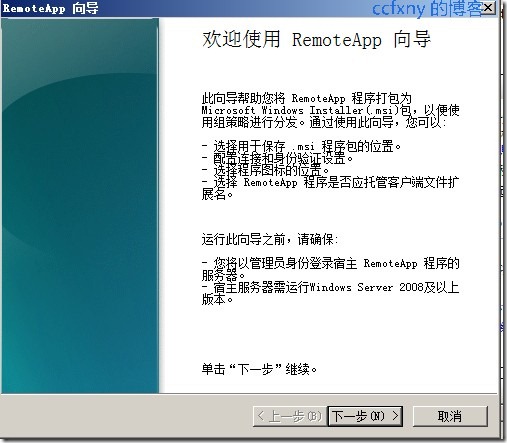
下面我们试试创建msi文件包,msi是做什么的呢,是将rdp快捷方式封装到一个程序包里面,这样在客户端的开始菜单中会产生一个快捷方式,这样客户机就不用每次都去打开rdp文件或者从web打开.我们同样是在这里打开右键-创建msi程序包
打开向导,跟上面一样的
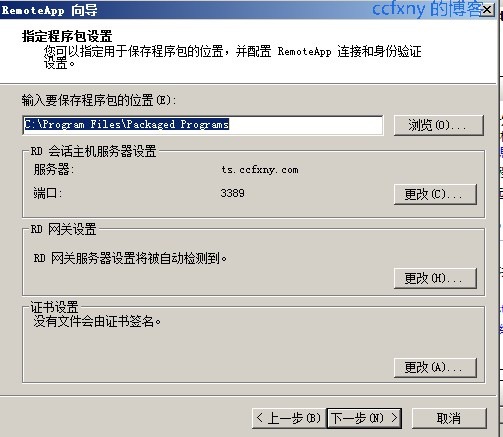
选择包的位置

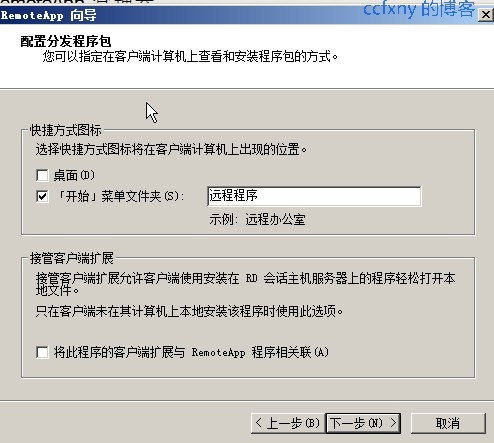
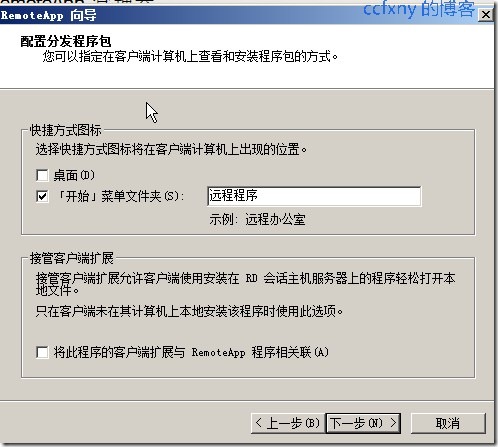
选择安装到客户端的何种位置
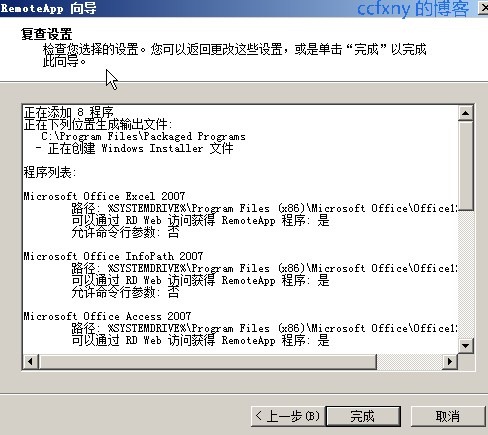
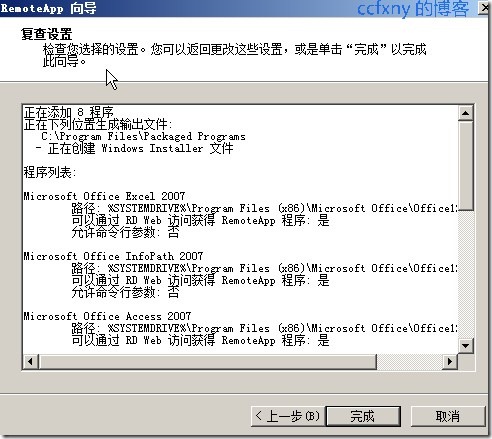
信息总揽确认
创建完成将文件再次拷贝到共享
8.msi包安装使用和连接
在客户端打开msi文件,

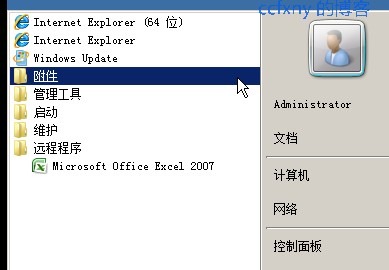
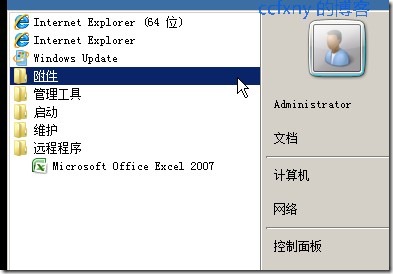
单击运行就开始安装,几秒就完成了,故没抓图,安装完成后可以看到开始菜单的快捷方式
\
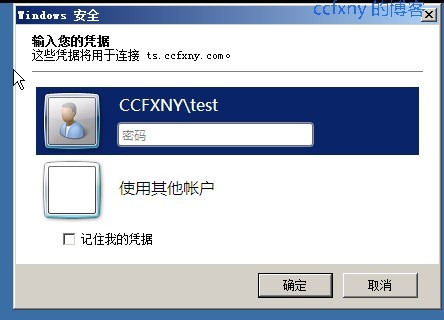
打开excel,会要求密码
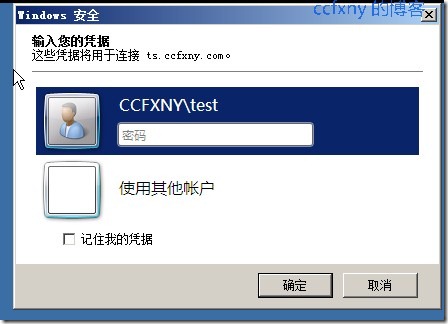
输入密码,同样自动连接并打开excel程序
Remoteapp实验基本完毕,令人遗憾的是远程发布的程序,貌似不能关联本地的office文件,例如我发布了word,可以先打开word再打开本机的word文件,但是不能直接打开word文件.值得欣喜的是microsoft一如既往的为大家提供易用性的操作,三种客户端部署方式带来的可选择性和管理便捷性的提升,使企业管理员可以灵活的应用remoteapp.