思杰VDI八终极测试连接VDI哈哈,终于收尾了,玩了好多天了摸着石头过河,走了不少弯路,总算要收尾了,吼吼,兴奋了一个晚上没睡好觉,结果就是早上爬起来左眼疼,唉,兴奋过头了不扯了,上菜
本篇中,vdi已经正常连接了,剩下的就是维护工作了,下一篇我介绍一下安装授权服务器,并更改ddc和pvs服务器的授权,让咱的vdi真正玩起来,因为目前我的ddc服务器和pvs服务器没有授权,所以虚拟桌面会一直重启,不过不妨碍我本篇给大家展示vdi
先在瘦客户机或者xp上安装连接工具吧,客户端可以是xp可以是ce可以是pe,用浏览器也行
单击desktopreceiverfull安装安装在我的win7上,吼吼

开始安装
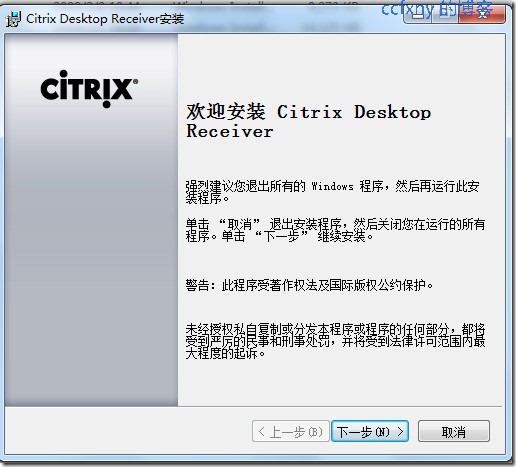
同意协议

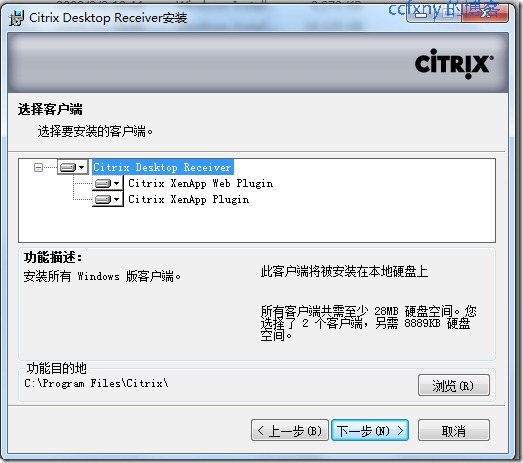
安装功能,web功能和程序连接功能
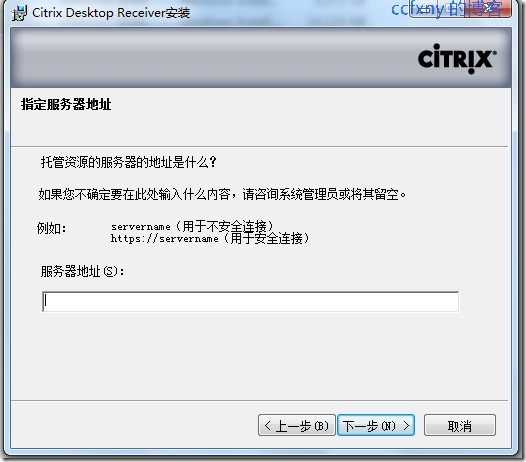
DDC服务器地址,可以晚点设置
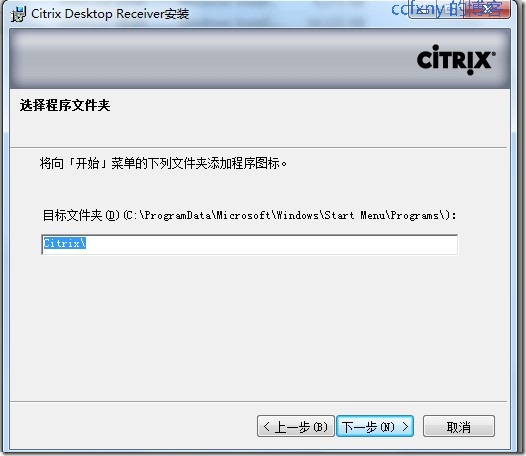
安装位置确定
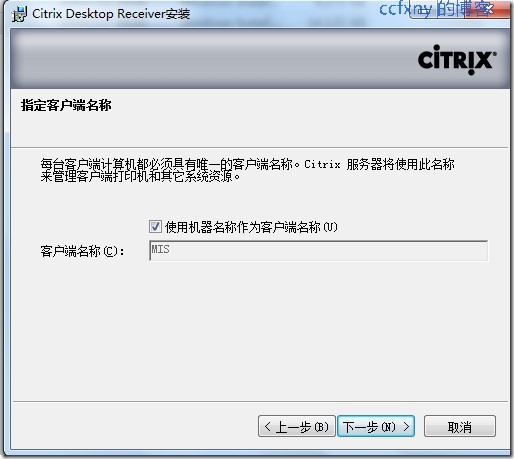
客户端名称,默认
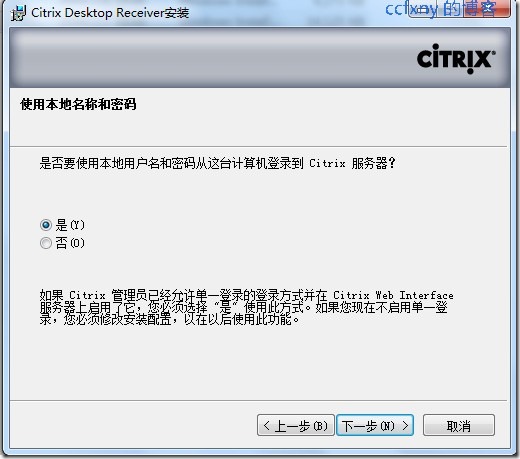
如果在域内就勾选吧,可以自动登录,非域可以选否,然后自行登录
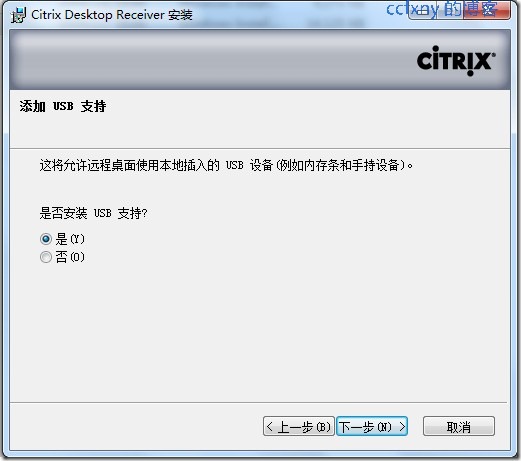
启用usb支持
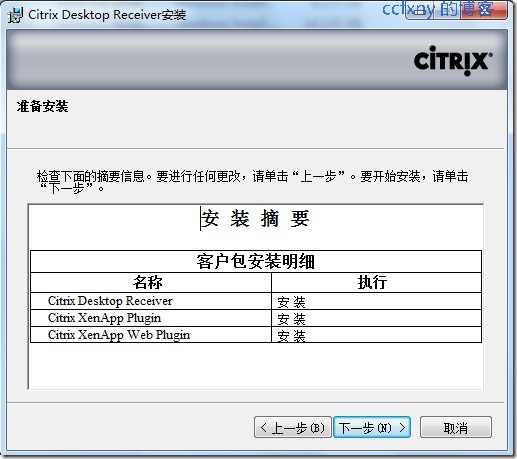
安装摘要
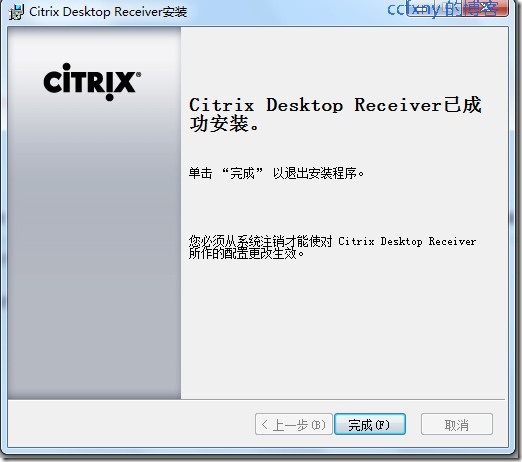
单击完成安装OK
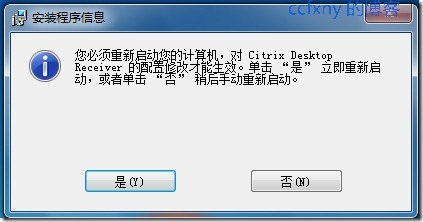
要求重启,晕晕,不急,重启吧
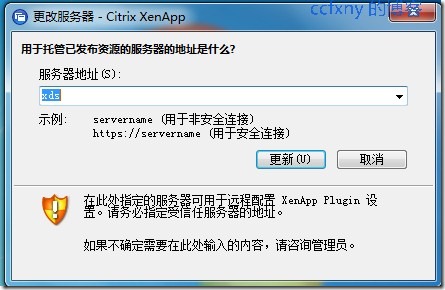
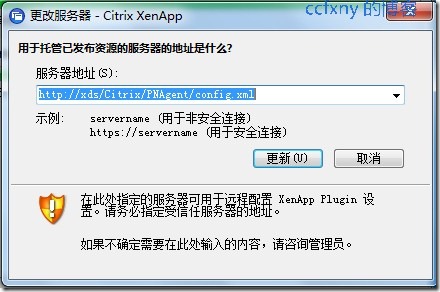
重启后出现设置,设置ddc服务器ip或者机器名,设置xds更新OK
我是非域用户,要求我登录,我就登陆吧,呵呵

又要求更新,晕,这个是默认的,直接单击更新即可
哈哈,出现登陆成功提示,

在xenapp登陆上后我们的程序已经开始连接了
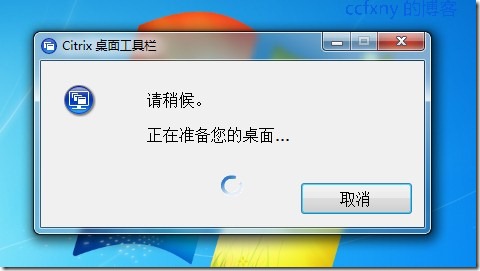
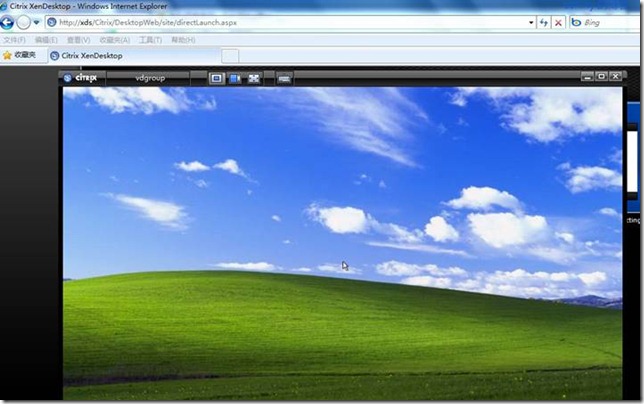
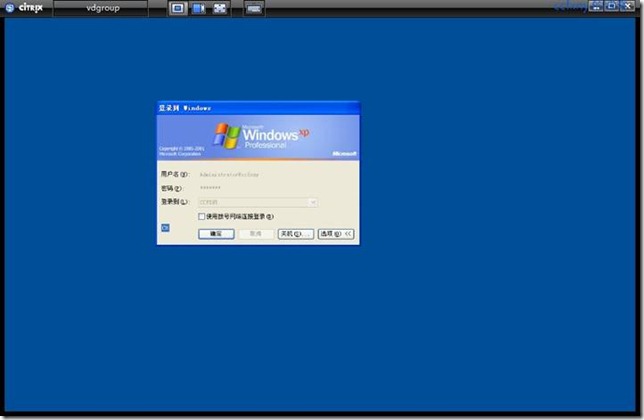
连接成功,自动登录了虚拟桌面
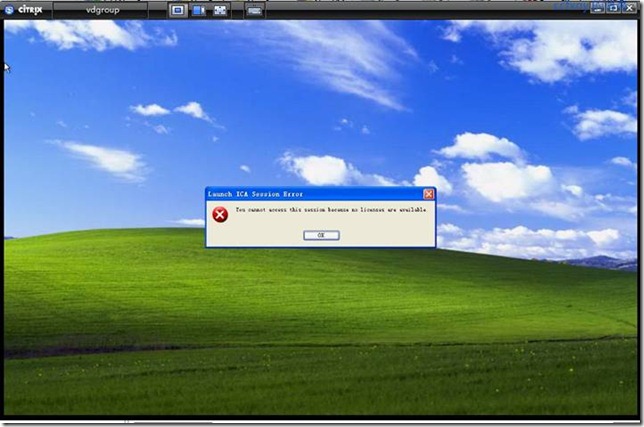
我那个汗,ddc和pvs服务器没授权,说没有授权!然后虚拟桌面就开始不停重启,抓狂ing,不过咱们的实验基本已经结束了,嘿嘿,vdi已经正常连接了,剩下的就是维护工作了,下一篇我介绍一下安装授权服务器,并更改ddc和pvs服务器的授权,让咱的vdi真正玩起来
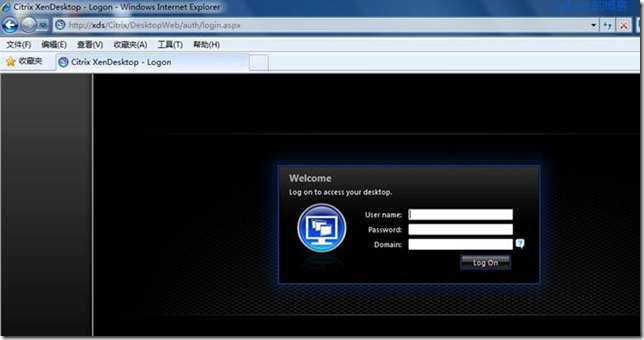
打开IE,输入
直接重定向到如图的地址并出现登陆窗口,用域账户登录即可
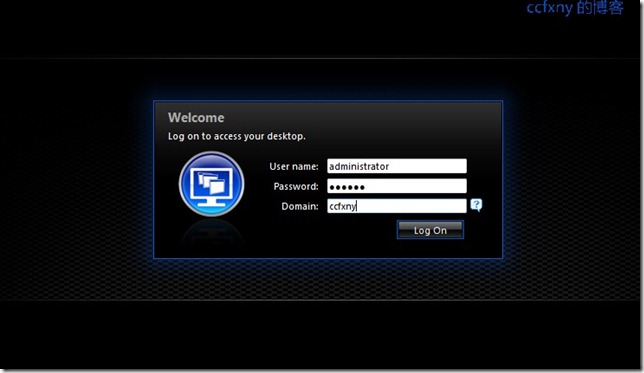
嘿,下面这个是在IE登陆后出现的连接框框