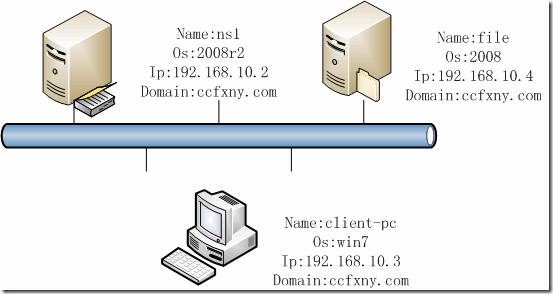
2008R2Win7管理四迁移文件服务器
随着公司规模的扩大,NS1已经不能满足公司日益增加的文件共享需要
于是采购了一台新主机至强5500,2G内存,千兆网卡,2TB硬盘互相备份
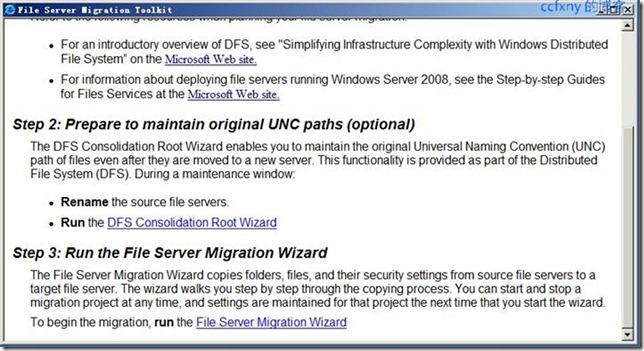
首先将机器安装windows server 2008 SP2,本例没有安装2008R2,给大家看看有什么不同的,并且将NS1上的共享完美迁移到新的文件服务器上,安全权限不丢.
其实最好的做法是将新机器加入网域,然后将旧的ns1上的存放共享文件夹的硬盘拆下来,安装到新机器上即可,安全权限都还在,只是共享权限需要重新配置而已.
但是大多数公司服务器都是做了raid,不可能拆硬盘到新机器上,所以我们只能做迁移!微软提供了一个工具Microsoft F
ile Server Migration Toolkit目前已经更新到1.2了,在2003的时代还是1.0呢,呵呵
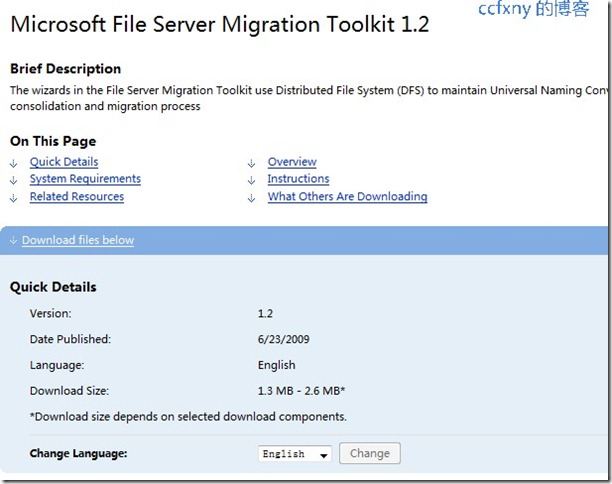
可以从微软官网下载英文版的1.2,本工具分为64位和86位,大家自行根据需要来下载.
本篇分为1安装fsmt工具和2迁移文件服务器3验证迁移后的共享
特别说明:本工具是在新机器上安装,也就是要迁移到的目的地上安装,本例为在新机器file上安装
本例因为扩大的网络,增加了新服务器FILE,
1. 安装fsmt
从微软官方网站找到fsmt下载链接,单击download
出现版本选择,根据自己待转移的那台机器的版本来单击右边的download来下载.

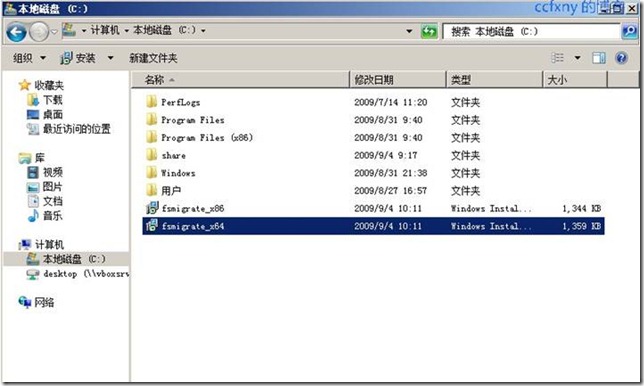
下载完成的如图,32位和64位都下了,
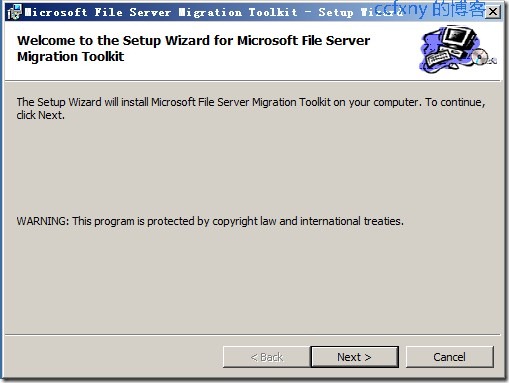
双击相应版本的程序,单击next下一步
同意协议并下一步

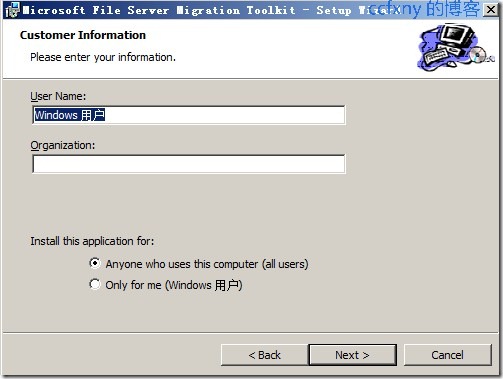
输入用户信息并下一步
标准安装和自定义安装
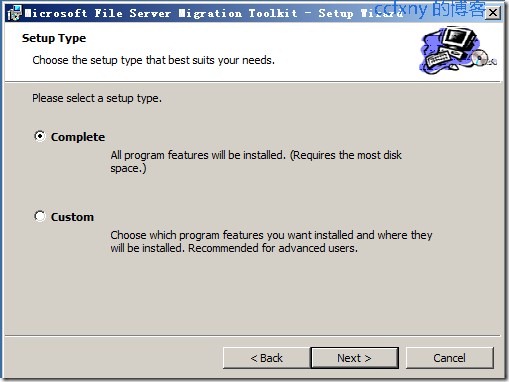
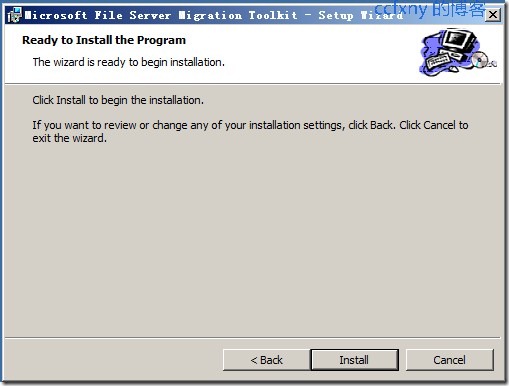
本例选择的标准安装并单击next开始正式安装
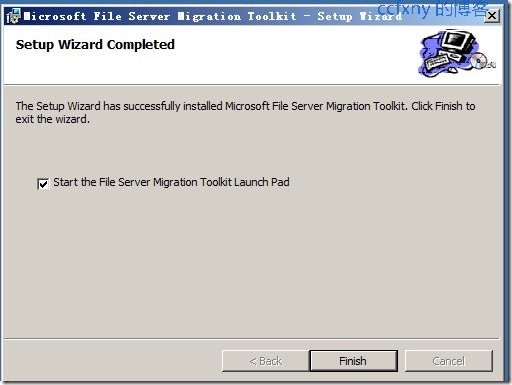
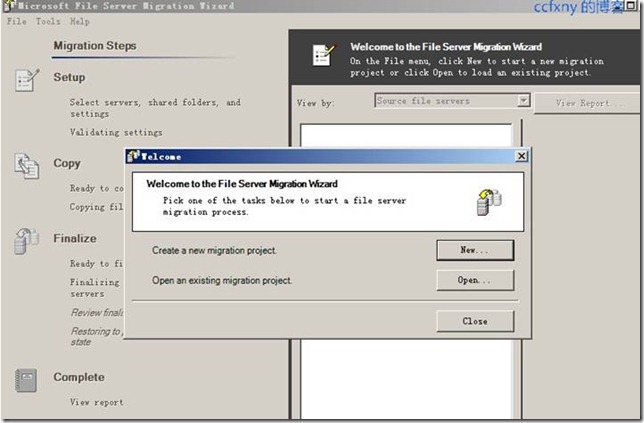
安装完成,启动管理工具的连接.
打开了如图的能使用的工具连接.
2. 使用fsmt迁移文件服务器
单击上图的3-run server migration wizard或者在程序中找到这个工具
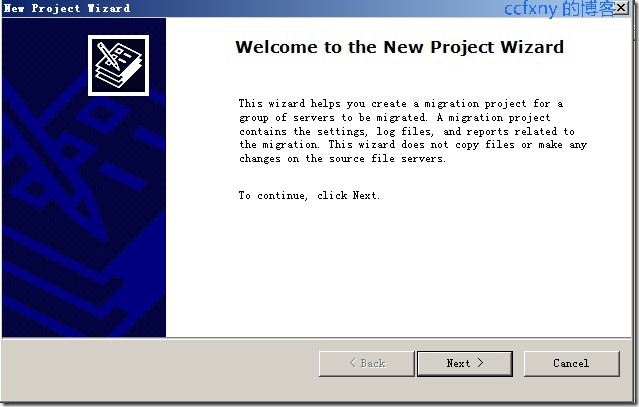
出现第一次配置向导,单击new,创建一个新项目
向导首页
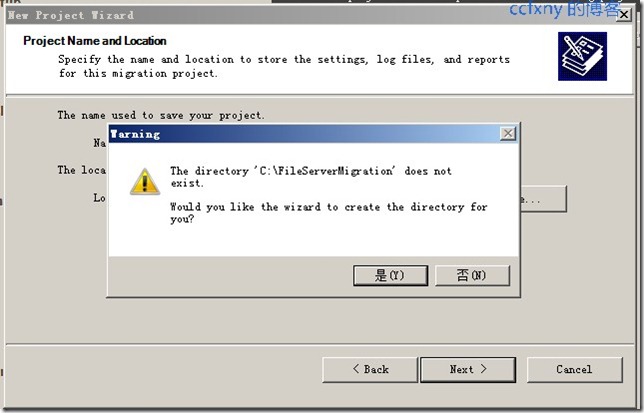
输入日志文件夹的名称和存放日志文件的本地路径
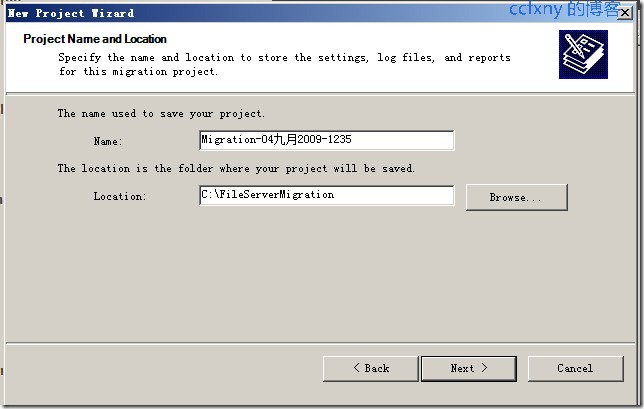
提示该文件夹不存在,是否创建.单击是以创建该文件夹
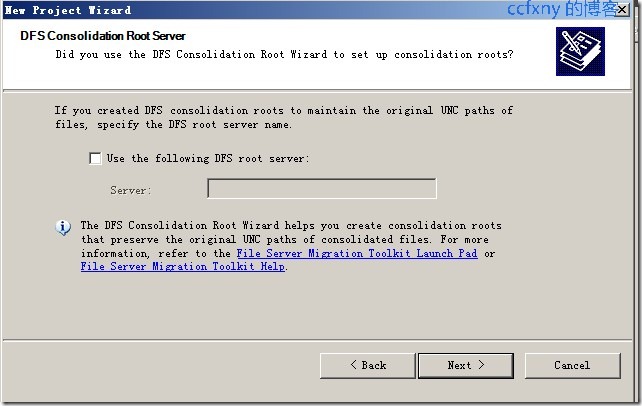
还可以迁移dfs呢,本例没有dfs,就不用选择dfs了,然后next
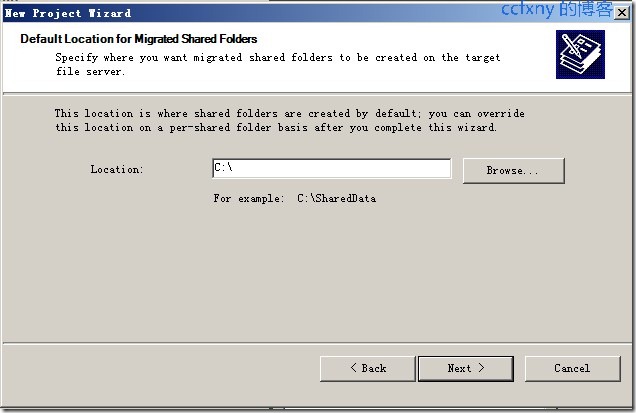
这里选择的是迁移的目的的,比如我要讲ns1上的所有共享都迁移到本地的c盘,就选择c盘,或者d盘,前提是要保证该盘能存放ns1上的所有共享的文件夹.放到c盘即可,不用担心会将子文件夹也迁移到c了,迁移过程中会在C盘创建一个文件夹,名称为ns1的fqdn名称并在里面创建迁移过来的子文件夹.
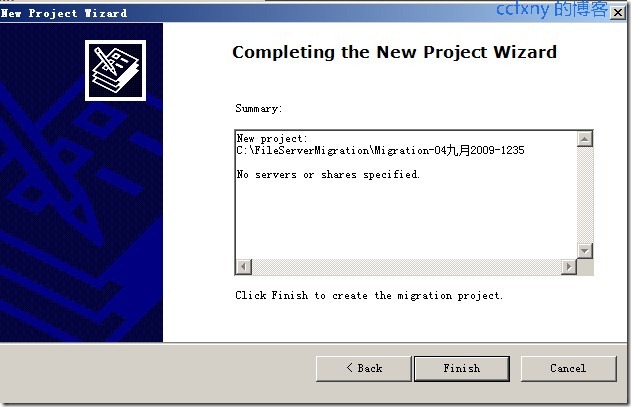
单击finsh完成项目准备
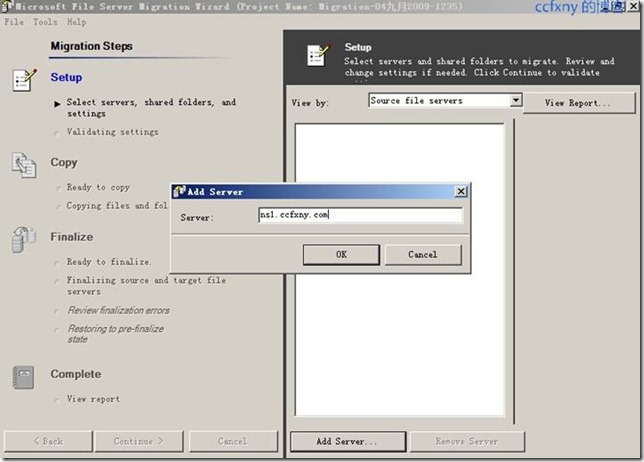
单击完成后出现如图,我们单击add server来将要迁移的宿主也就是原来的文件服务器例如ns1添加到服务器池.

输入ns1的fqdn名称ns1.ccfxny.com
单击ok完成,如果系统默认的防火墙没关闭可能会出现rpc错误,只需要暂时关闭防火墙即可
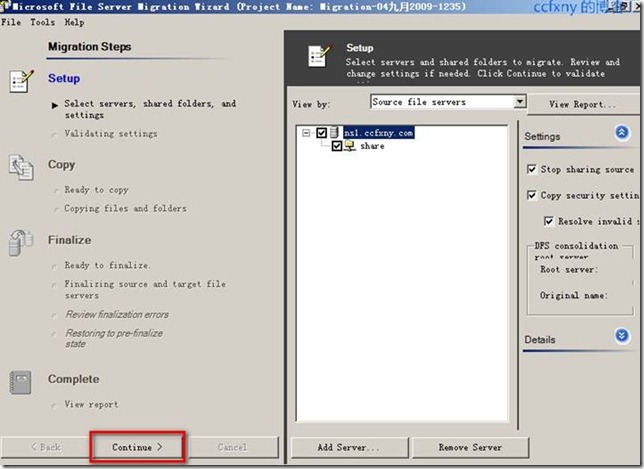
选择好服务器后单击continue来继续下一步,验证设置
验证完成,再次continue下一步
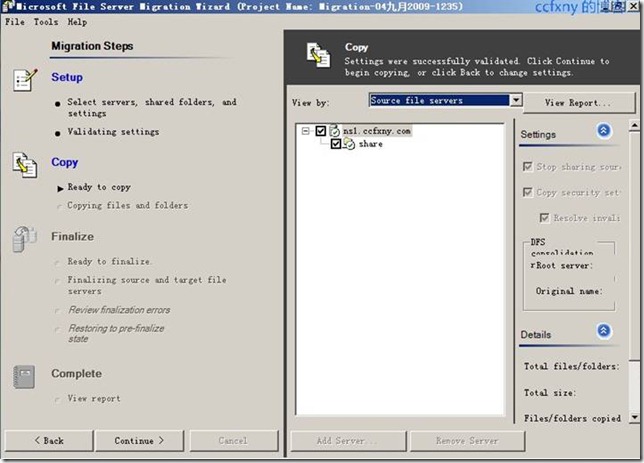
拷贝文件夹中,再次continue继续下一步
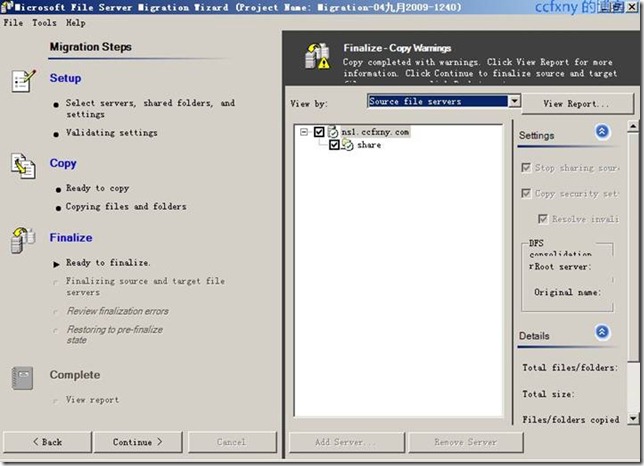
提示操作过程会停掉共享,是否继续,单击是来继续操作

操作完成,可以退出工具了.迁移过程视
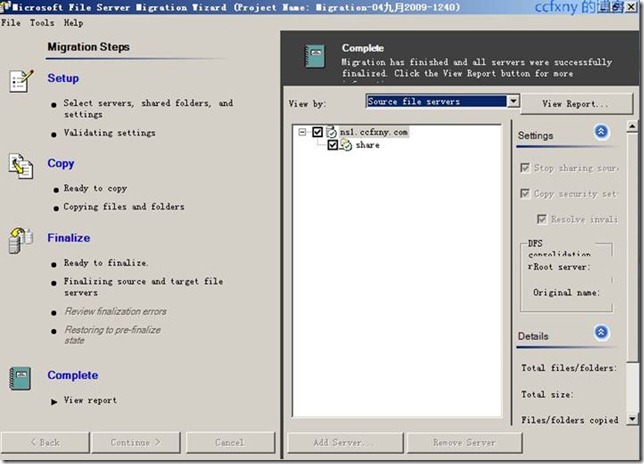
3. 验证迁移情况.
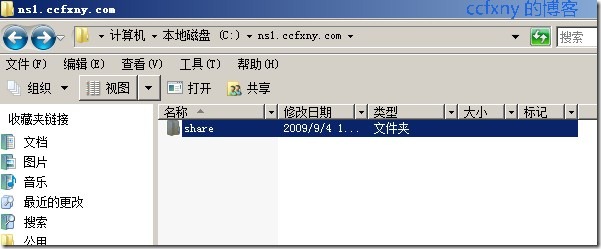
现在我们在file这台服务器上打开c盘,可以看到c盘下有个新目录ns1.ccfxny.com

打开该文件夹则发现ns1上的共享文件夹
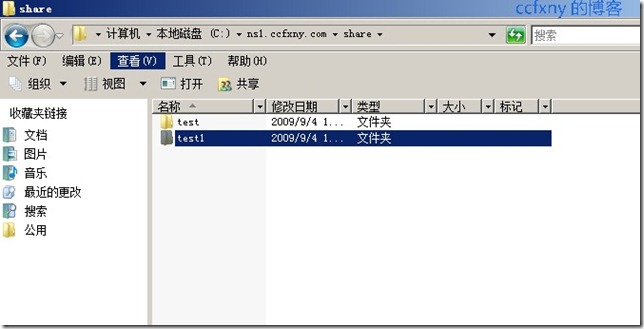
打开后share里面的内容也跃然出现
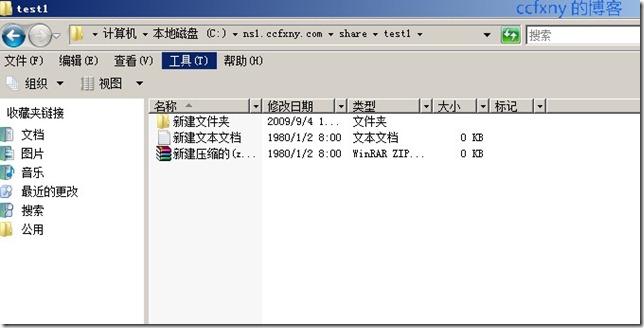
再瞧瞧文件,也有了
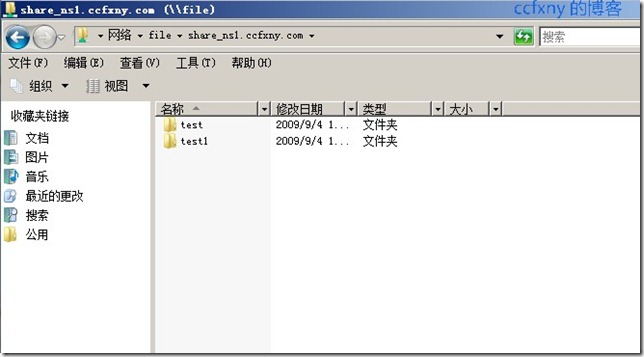
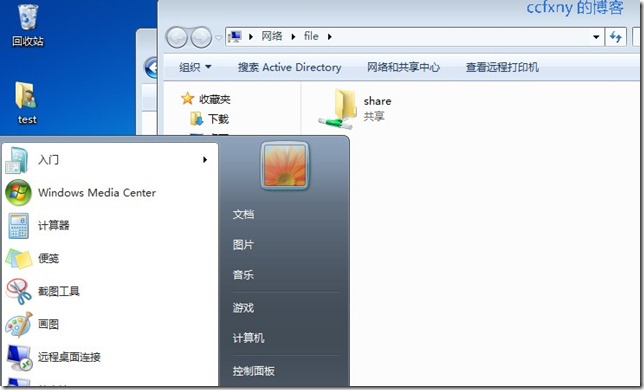
直接输入[url=file:///%5C%5Cfile]\\file[/url]来访问共享看看,看到共享了,只是这共享名有点奇怪

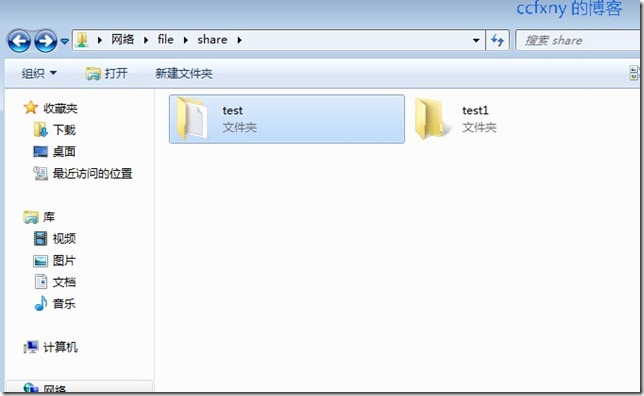
进去后跟在ns1上打开share文件夹的效果是一样的
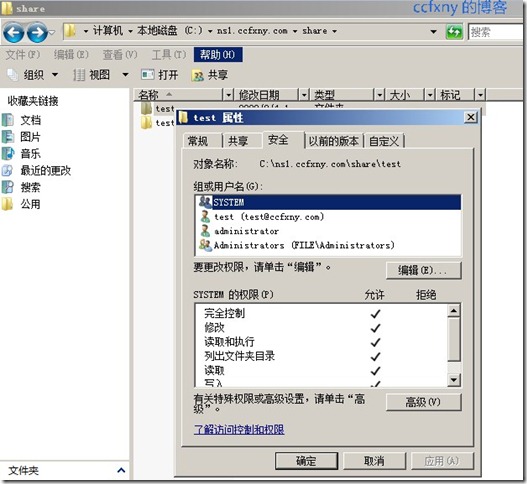
看看本地的权限,test文件夹正常.
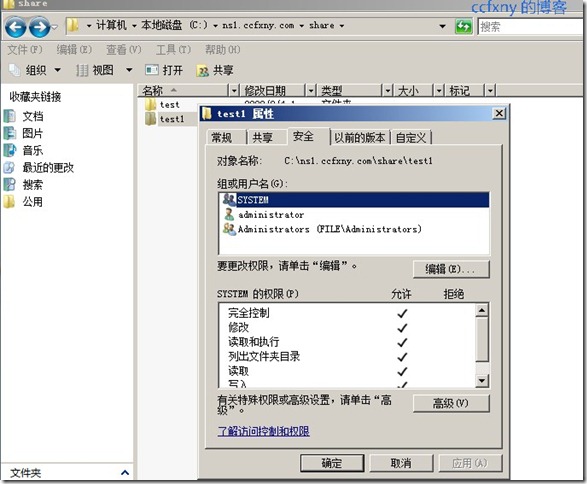
Test1也是OK的
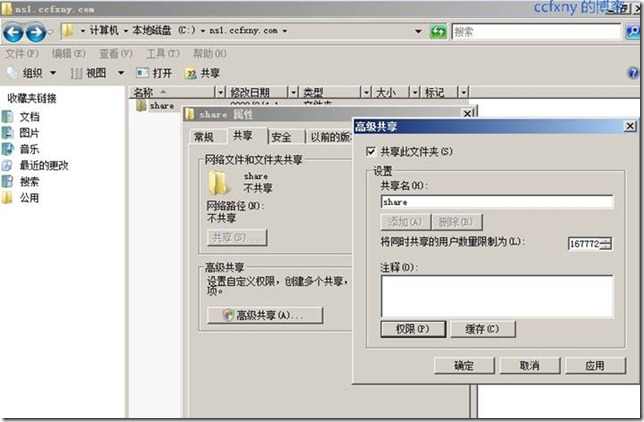
我们来重新更改下共享名即可.
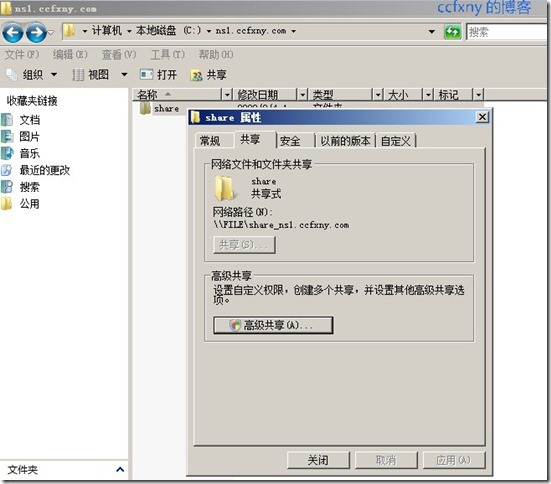
单击高级共享,然后添加一个新的共享名并删除旧有的共享名,,然后为新的共享名配置之跟之前一样的共享权限,这样安全权限不会丢.如果想迁移的时候就迁移成跟之前一样的共享名,需要按如下步骤进行
|
1. |
创建迁移项目和添加源文件服务器。 |
|
2. |
关闭文件服务器迁移向导。 |
|
3. |
定位迁移项目的 .xml 项目文件。默认状态下,项目文件存储在名为 FileServerMigration 的文件夹中。 |
|
4. |
使用记事本打开 .xml 项目文件。 |
|
5. |
搜索 ‹TargetShare›Sharename_SourceServerName‹/TargetShare› 并根据需要删除 _SourceServerName。
例如,如果用户想要从目标共享名称中删除服务器名称 _MyOldFS,则需要使用 _MyOldFS‹/TargetShare› 字符串复制 ‹/TargetShare› 字符串的所有值。
注意: .xml 文件中的标记需要区分大小写。用户必须完全按照此处所显示键入标记。 |
|
6. |
保存并关闭 .xml 文件,重新启动文件服务器迁移向导,并选择修改的项目文件。 |

更改完成
在win7客户端上打开file共享
恩,看到俩文件夹了,跟2008R2不一样,2008R2只能看到自己的文件夹.
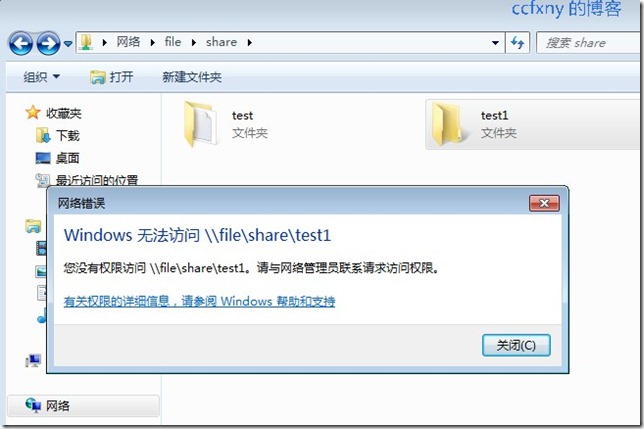
打开test1失败,因为没权权限.
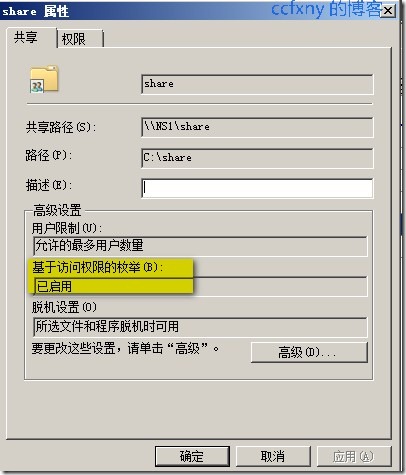
我们来看下ns1这台2008R2的共享和存储管理中,单击share-属性,可以看到默认的基于访问权限的枚举,已经默认开启的
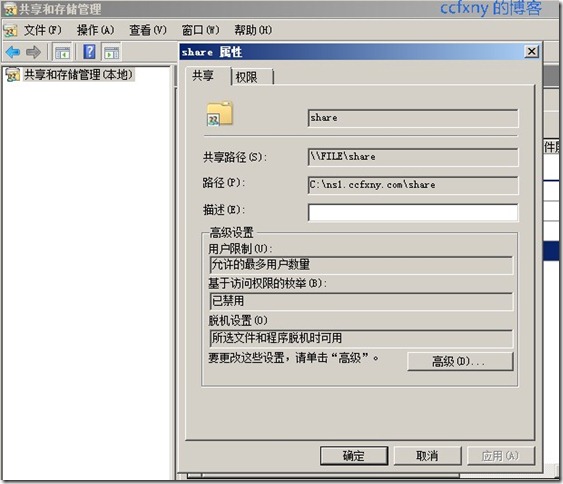
单击在file这台2008上是关闭的
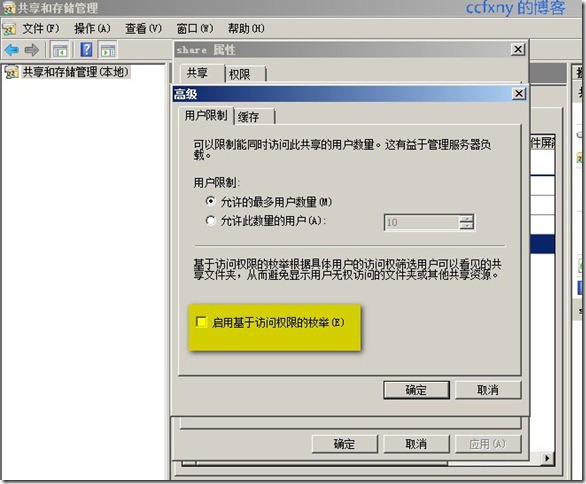
我们单击高级-然后启用基于访问权限的枚举
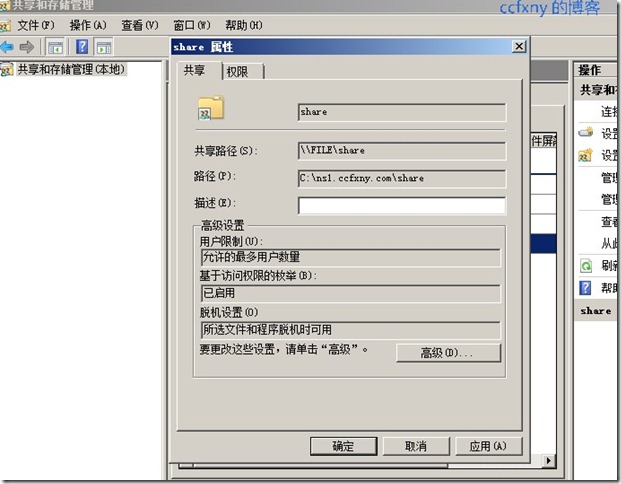
启用完成
再来看共享,跟2008R2一样,看不到自己没权限访问的文件夹了.


