2008R2Win7管理十三WSUS攻略之一
本攻略介绍1安装wsus,2配置wsus,3测试更新
本攻略为了在企业中使用统一的更新源,从wsus获取更新,以避免所有客户端都从网络更新所带来的下载流量对公司带宽的占用,有了wsus,所有客户端从wsus获取系统补丁即可,获取系统补丁是降低系统受攻击和毒害的有效办法.
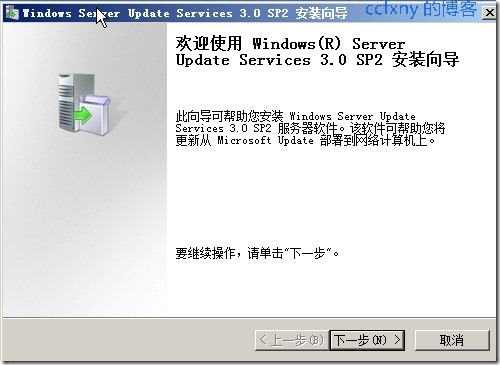
本篇以2008R2自带的wsus 3.0 sp2最新版为例来进行安装部署介绍.
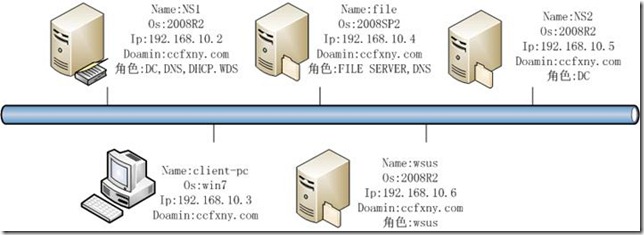
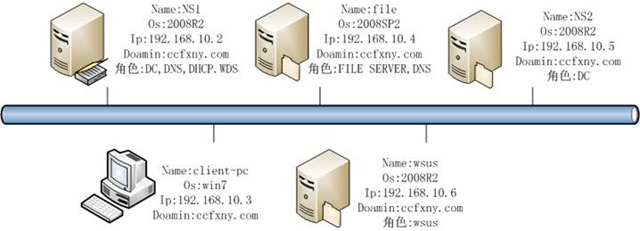
拓扑有增加一台wsus服务器,配置要求不同太高,奔腾级别的家用cpu均可.甚至一台虚拟机也行.
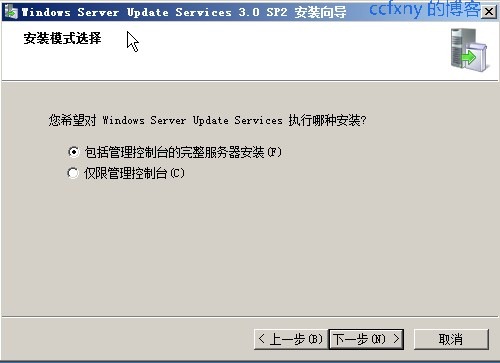
1. wsuS安装
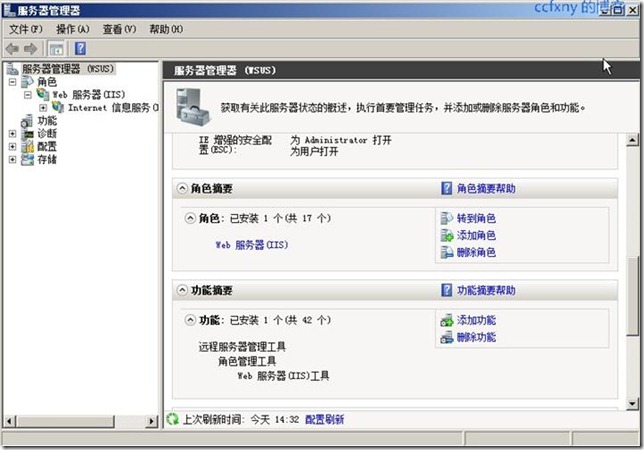
首先需要安装iis角色,然后wsus使用iis来播放更新补丁.
然后使用系统自带的功能添加,添加wsus角色则会自动从网络下载wsus3.0sp2,为了加快部署,我们选择了从网络上下载wsus3.0 sp2的80多MB的安装包,直接安装,这样省略下载的步骤.
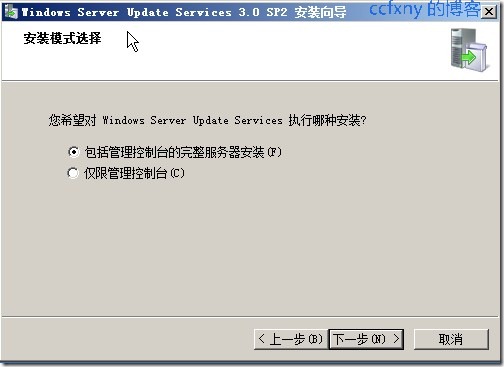
一路默认安装
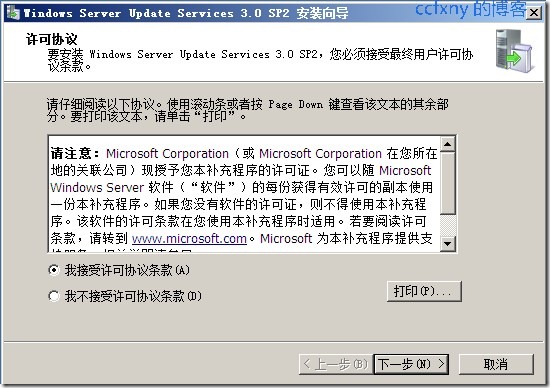
同意协议并下一步
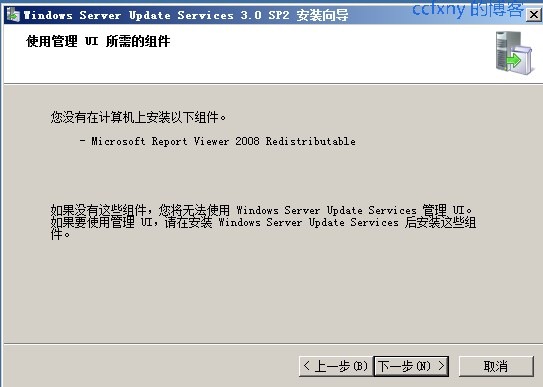
嘿,这次SP2将report给集成进去了,这样查看计算机报告不会再要求report2005了
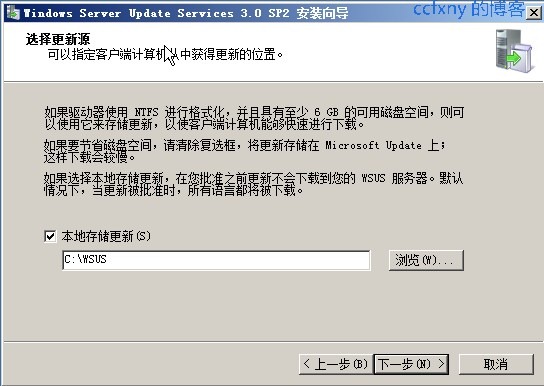
更新的位置,最好存放一个单独的数据盘内,本例实验只有C盘,所以只能放C盘了

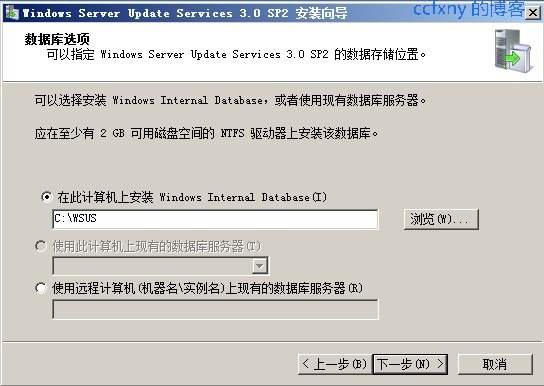
选择数据库,本例默认使用系统自带的微型数据库,或者使用域内其他sql服务器也行

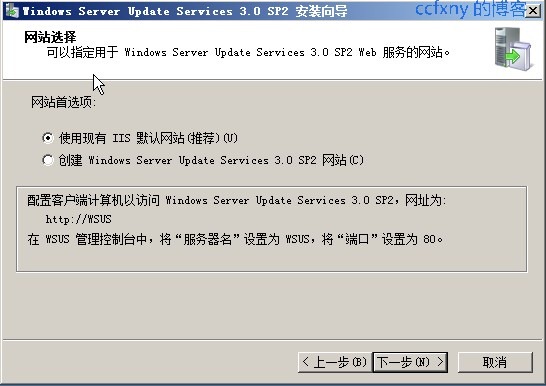
wsus网站,这里使用iis的,这样便于管理

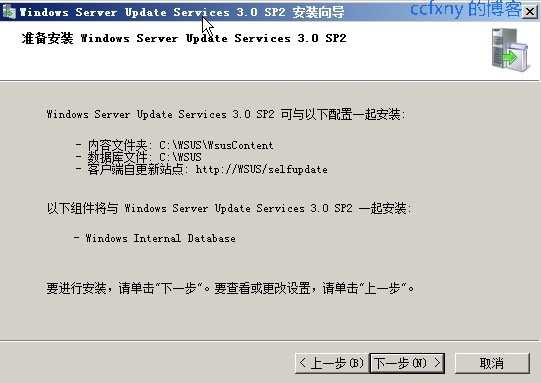
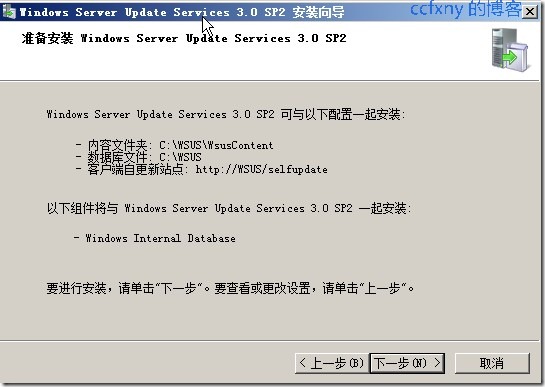
更新服务器信息总揽
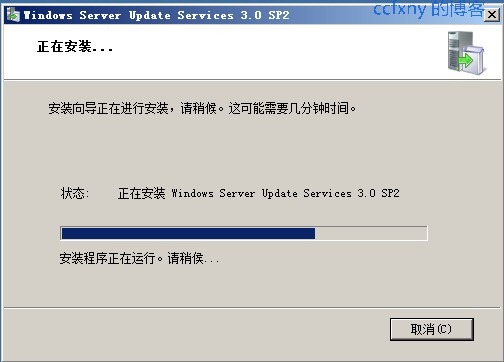
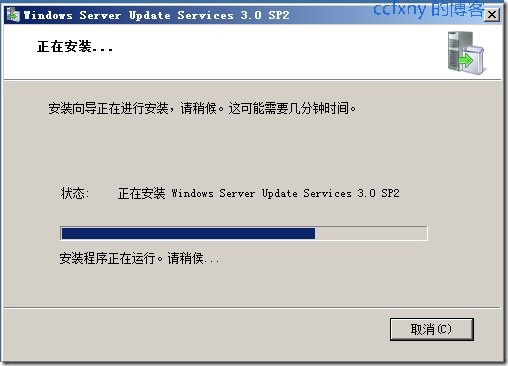
安装中
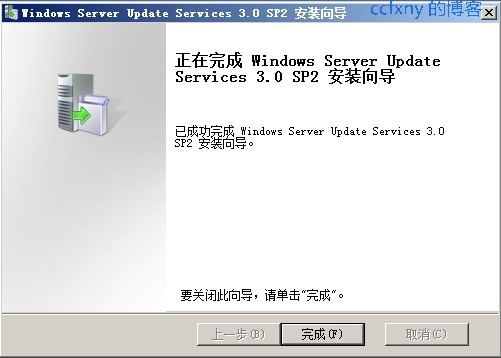
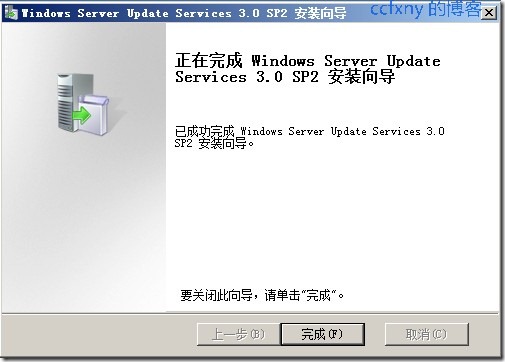
安装完成
阅读(394) | 评论(0) | 转发(0) |


 wsus网站,这里使用iis的,这样便于管理