分类:
2009-05-08 10:23:58
 |
 |
 |
 |
 |
 |
 |
 |
 |
 |
 |
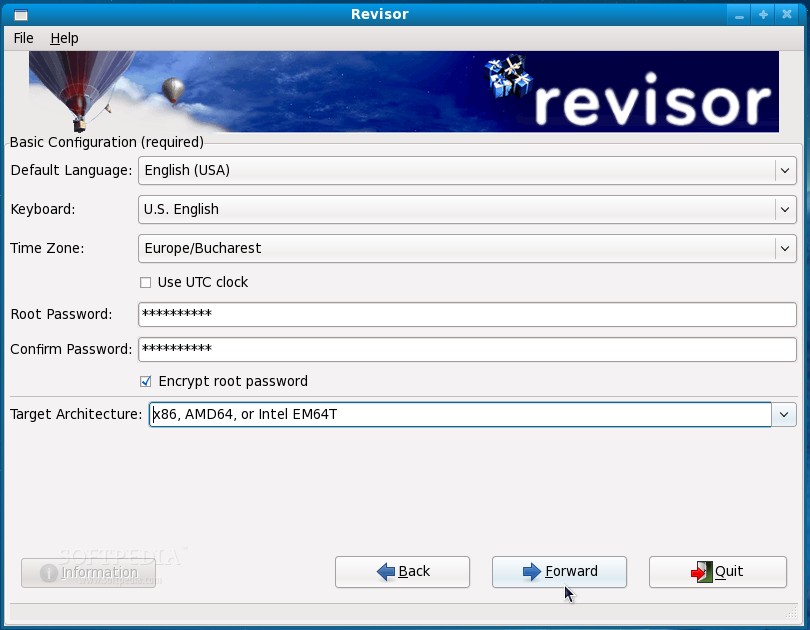 |
| Set default language, keyboard layout, time zone, root password, target architecture |
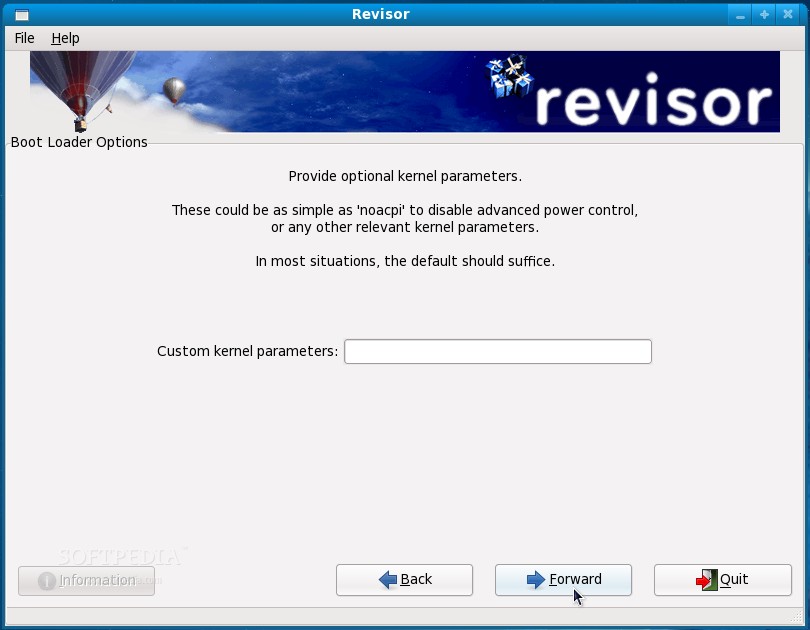 |
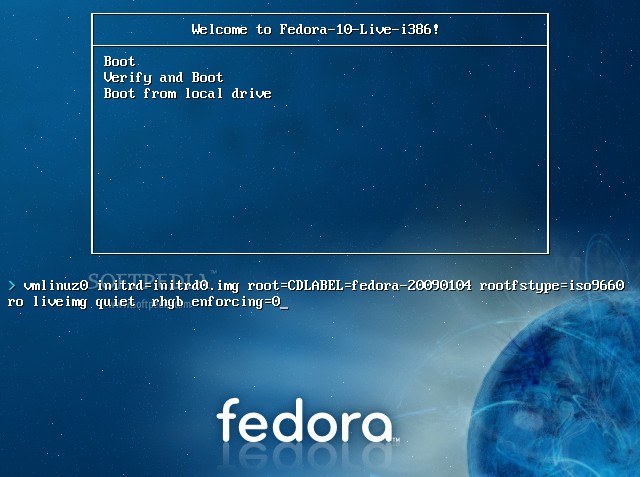
| Add kernel parameters |
 |
| Network configuration |
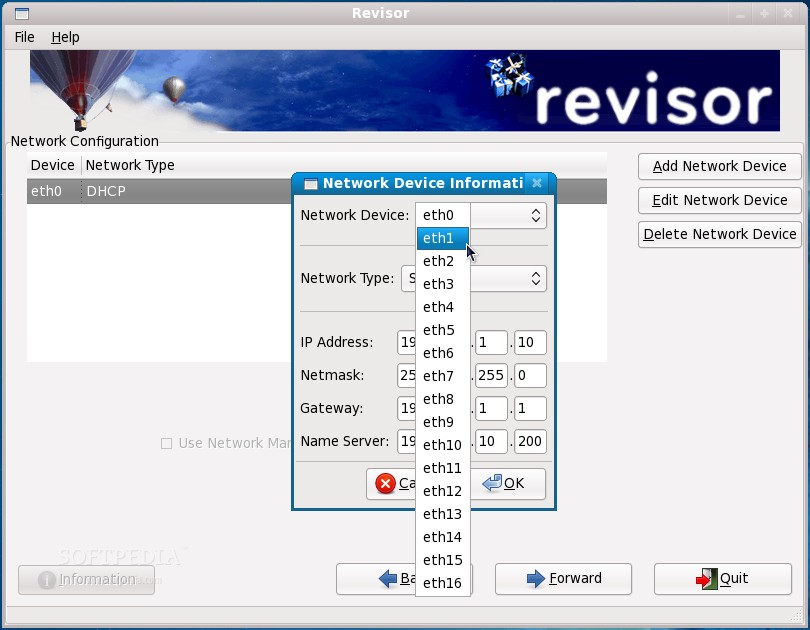 |
| Network configuration |
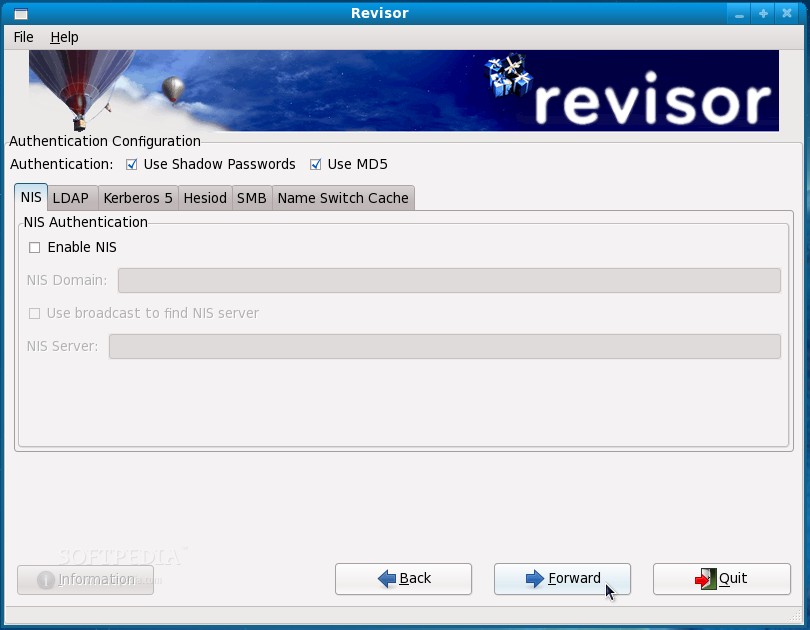 |
| Authentication configuration |
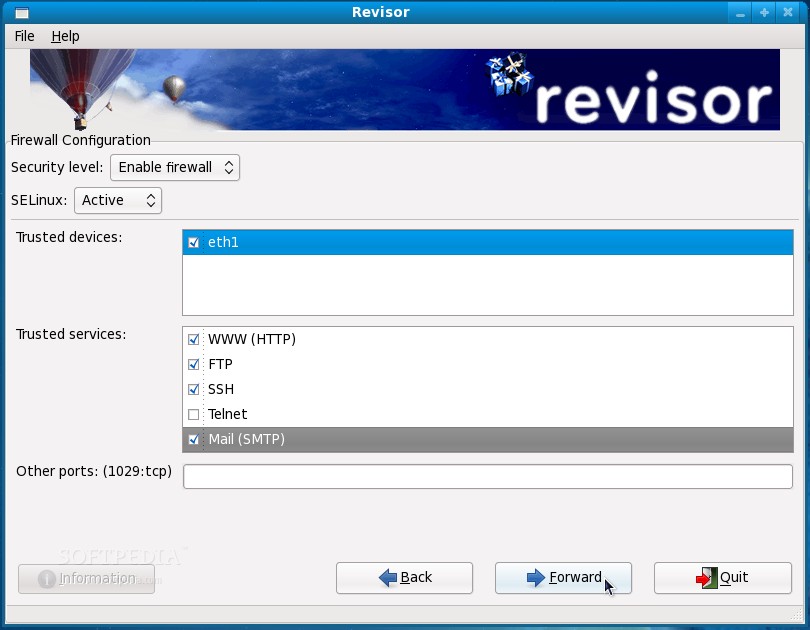 |
| Firewall configuration |
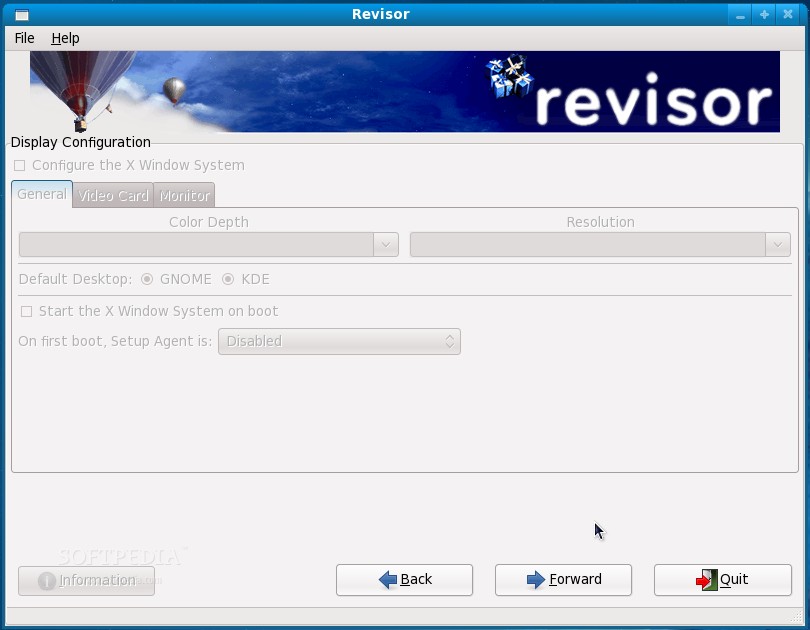 |
| Display configuration |
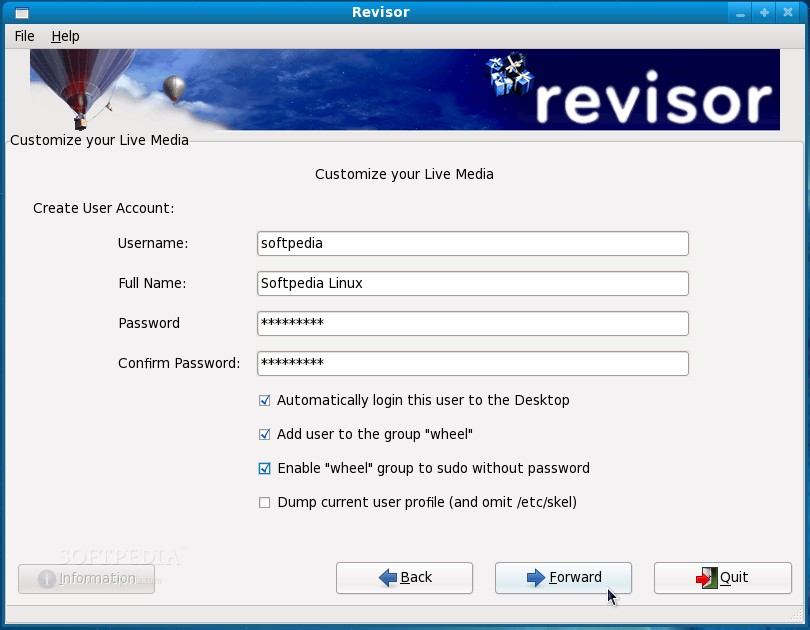 |
| Create a user account |
 |
 |
 |
 |
